Changing the control board on a Harman Iron Accentra pellet stove
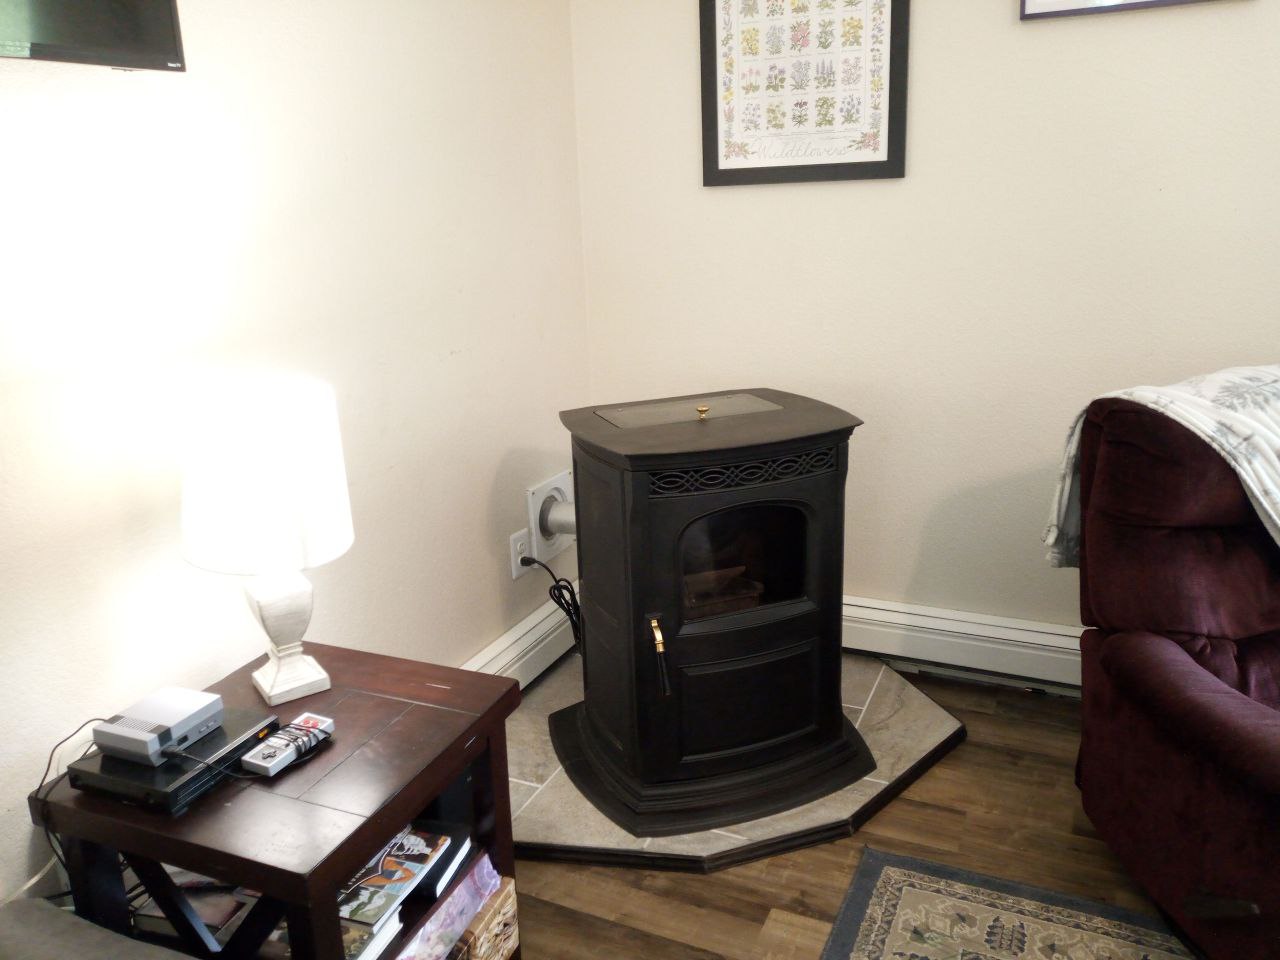
Yesterday, my wonderful wife had some unfortunate news for me: the Harman Iron Accentra pellet stove was on the fritz. For some reason, all of the lights started chaotically flickering on and off, not all together, but individually. Not only that, turning the pellet stove on lead to strange activity, as it would constantly turn on and off the various blower and feed motors, and failed to light the pellets. I had a feeling that the control board had finally given up.
Having had the pellet stove for several winters now, I really have grown to like it. Yes, it is not a perfect backup heat source, as it still requires electricity to run, but it is so much easier to use than a wood stove. For one, you have a tiny exhaust, rather than a big stack. You can set and forget a temperature, or just turn a dial to have it light a fire automatically. The unit itself is very aesthetically pleasing to look at, and the glass front makes for a great ambiance when the fire is lit.
I originally received this unit when I purchased a different pellet stove from a fellow church member who was leaving the state. Since I bought his other pellet stove, he offered me this broken one for free as well. Taking both home, I originally intended to use the other stove, but my wife fell in love with the look of this Accentra, and so I set about fixing it. It didn't take much to restore it to working order, though I did have to purchase two new sensors for it. I think one was an EDS (Exhaust Sensor) and a temperature sensor. After last winter, I did have to replace the heating unit, which gets hot and lights the pellets on fire, but overall, it's been a good unit.
Over time, though, I had suspected something might be wrong with the control board, as occasionally the Accentra would do something unexpected. Nothing dangerous, of course, but confusing. It would fail to light on multiple occasions, or when being turned off, it would crank in more pellets with the feed motor. So, months ago, I purchased a new control board, just in case. This was very fortunate, because when I came home to the "bad news" yesterday, I already had the part I figured I'd need to get it back to working order.
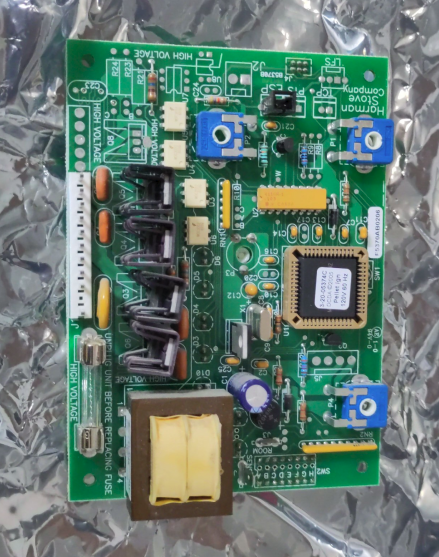
A picture of the old/removed board.
The first thing I did was to check the wiring and fuse to make sure it wasn't something else. Everything else seemed to be in order, so a simple operation began of removing two screws, popping off the various knobs, unhooking the connectors, and swapping the board. It was pretty quick overall. Start to finish took less than 30 minutes, though I spent a good deal of time testing the unit afterwards.
The only thing that was "odd" was that the new board fit several models. On the bottom of the board was a row of dip switches that you set for your particular model. For some reason, my model was not listed on the paperwork with pictures of dip switch settings. Fortunately, the old board also had this dip switch block, so I set the new board to match the old board, and drove on. The pattern was 00000001, if you need it for your board.
Either way, glory be to God, the unit worked right off the bat and we are back to having a cozy and warm living room!
Linux - keep it simple.
Fix the stars, and then a snow plow...
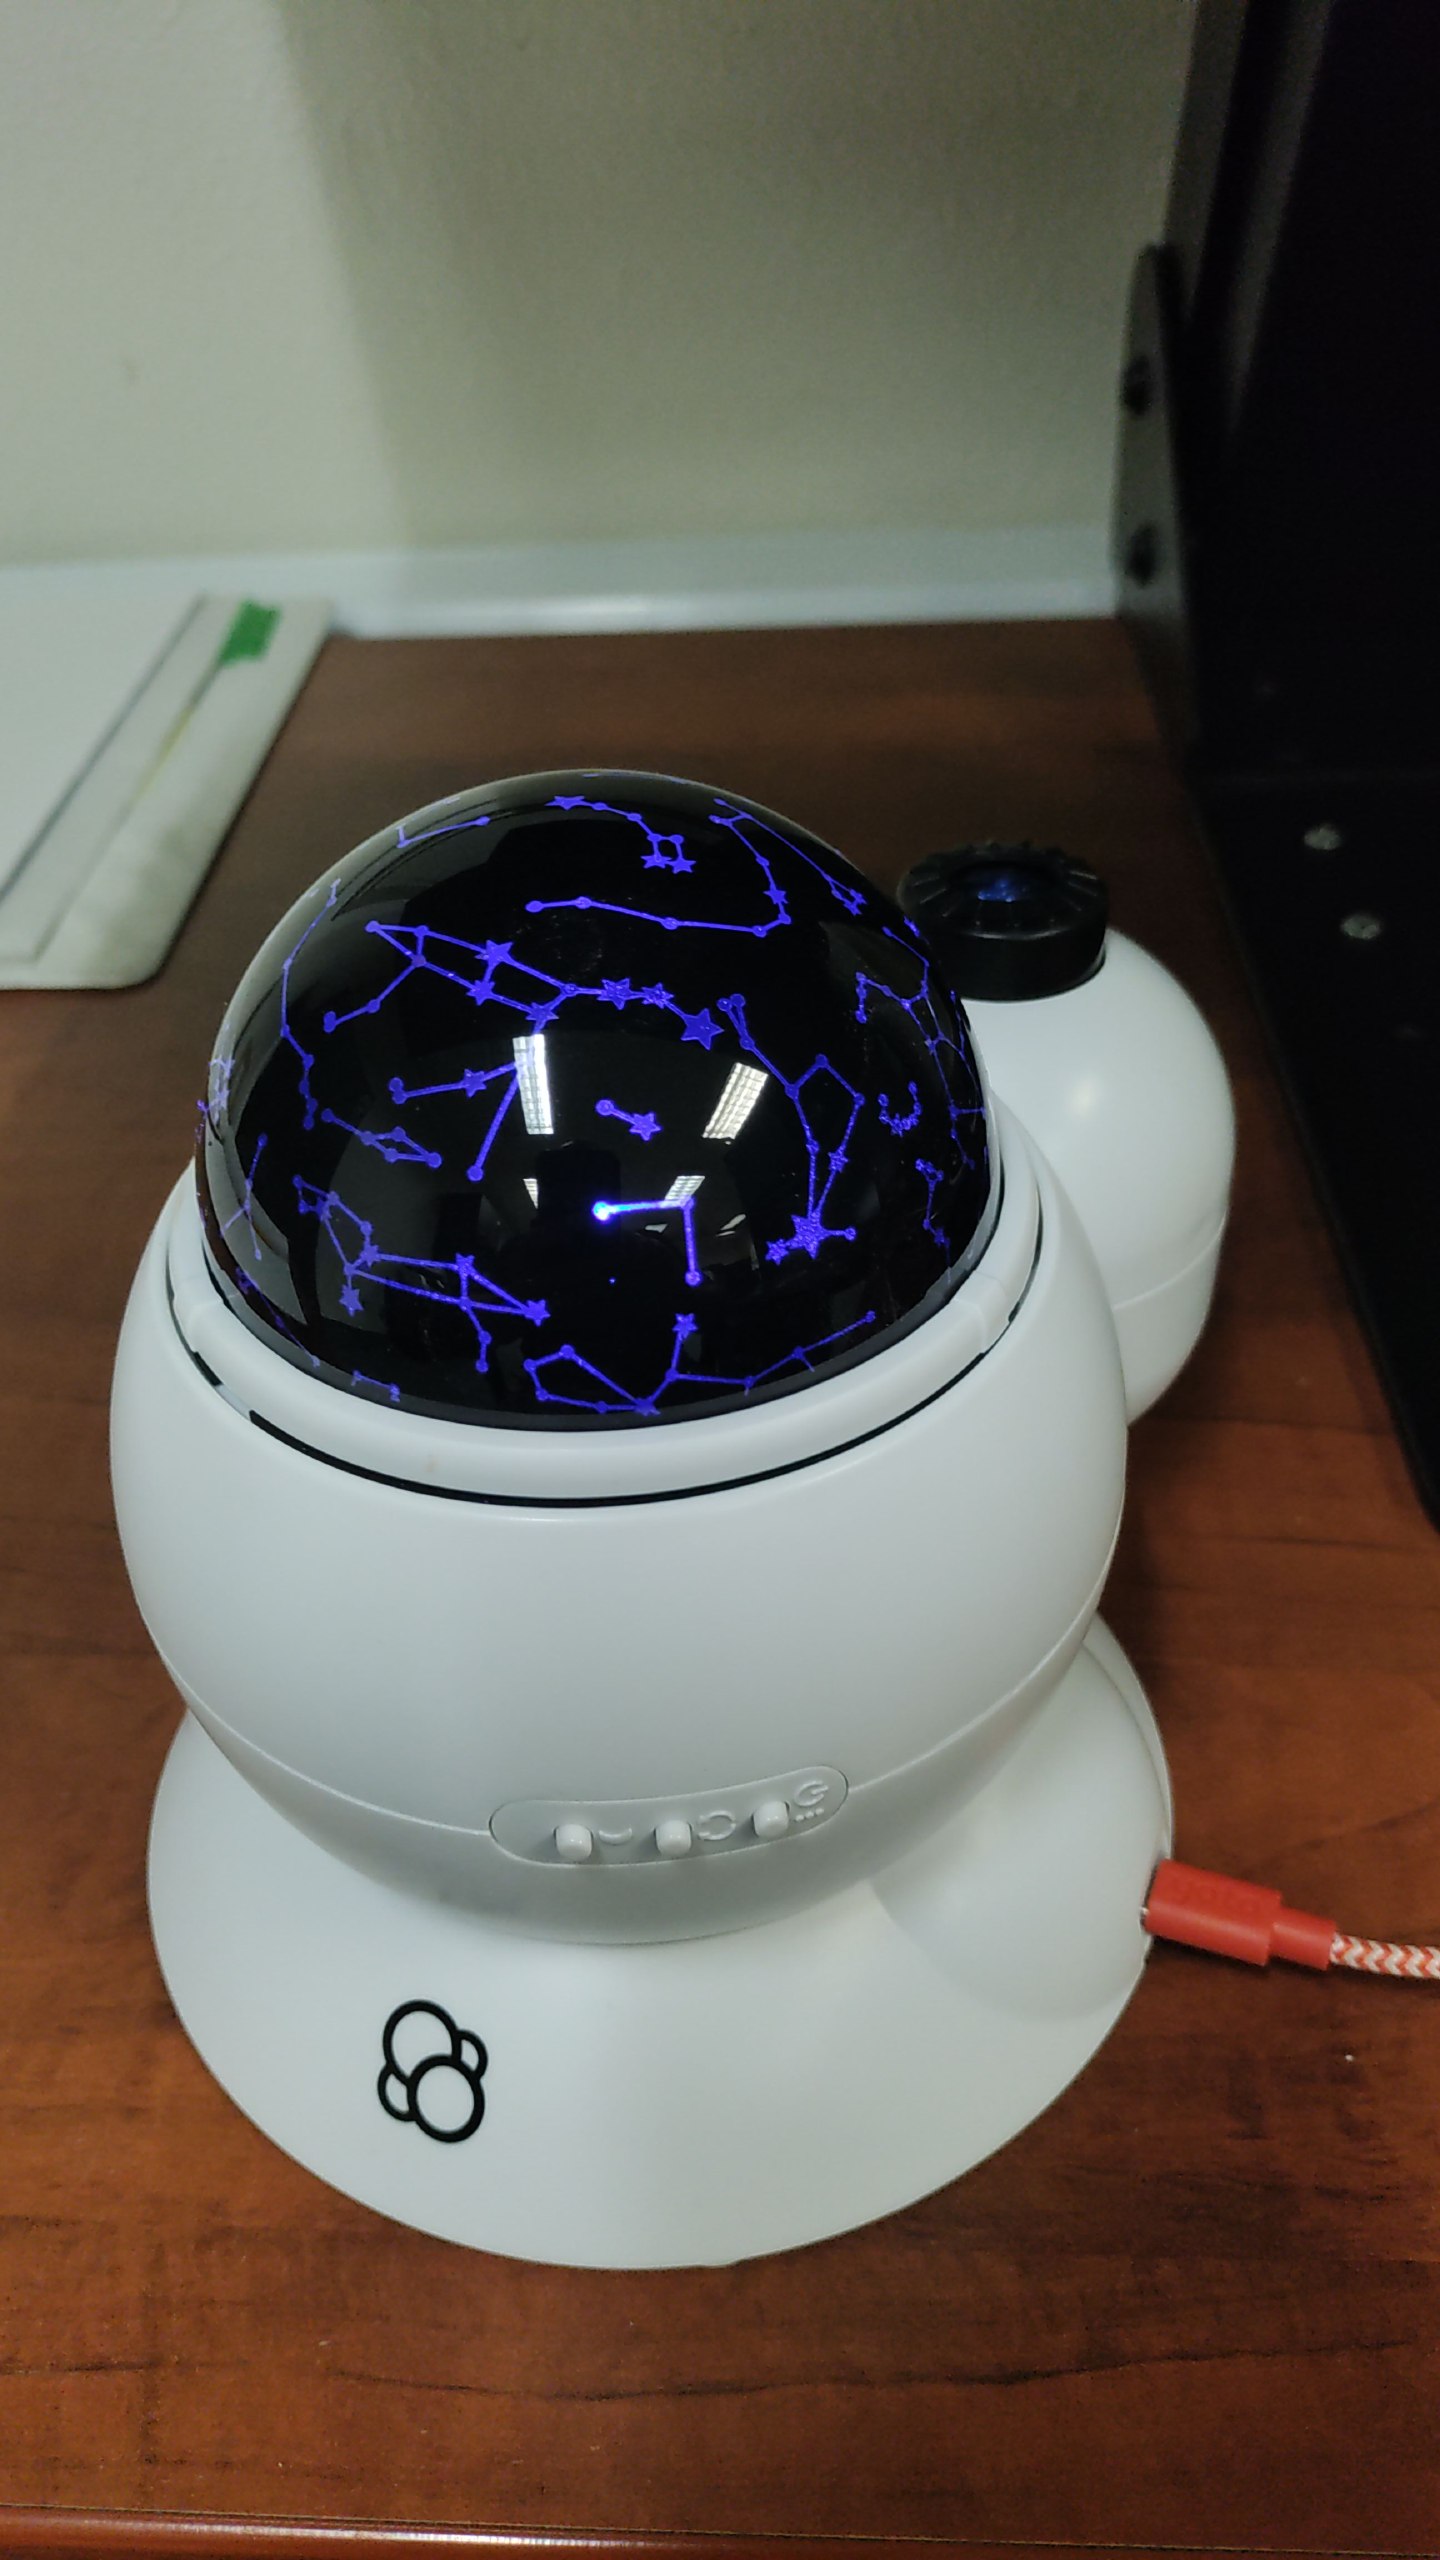
Okay, not exactly fixing real stars, but rather fixing a little planetarium.
For school, one of my sons got a planetarium to look at the star formations, and it even has some slides with pictures of different planets that you place in a led/lamp style projector. Unfortunately, it arrived broken, but more unfortunate is that we didn't know it until a month later when we went to use it. By then it was past the point of return, so there was no hope of getting a replacement. Let's put it mildly that he was bummed.
Aside from a nasty rattle of some broken part rolling around inside, it didn't look damaged, but I ended up taking the entire assembly apart to get to the insides. Essentially it is a control board, a motor, and two LED lamps with lots of plastic around them.
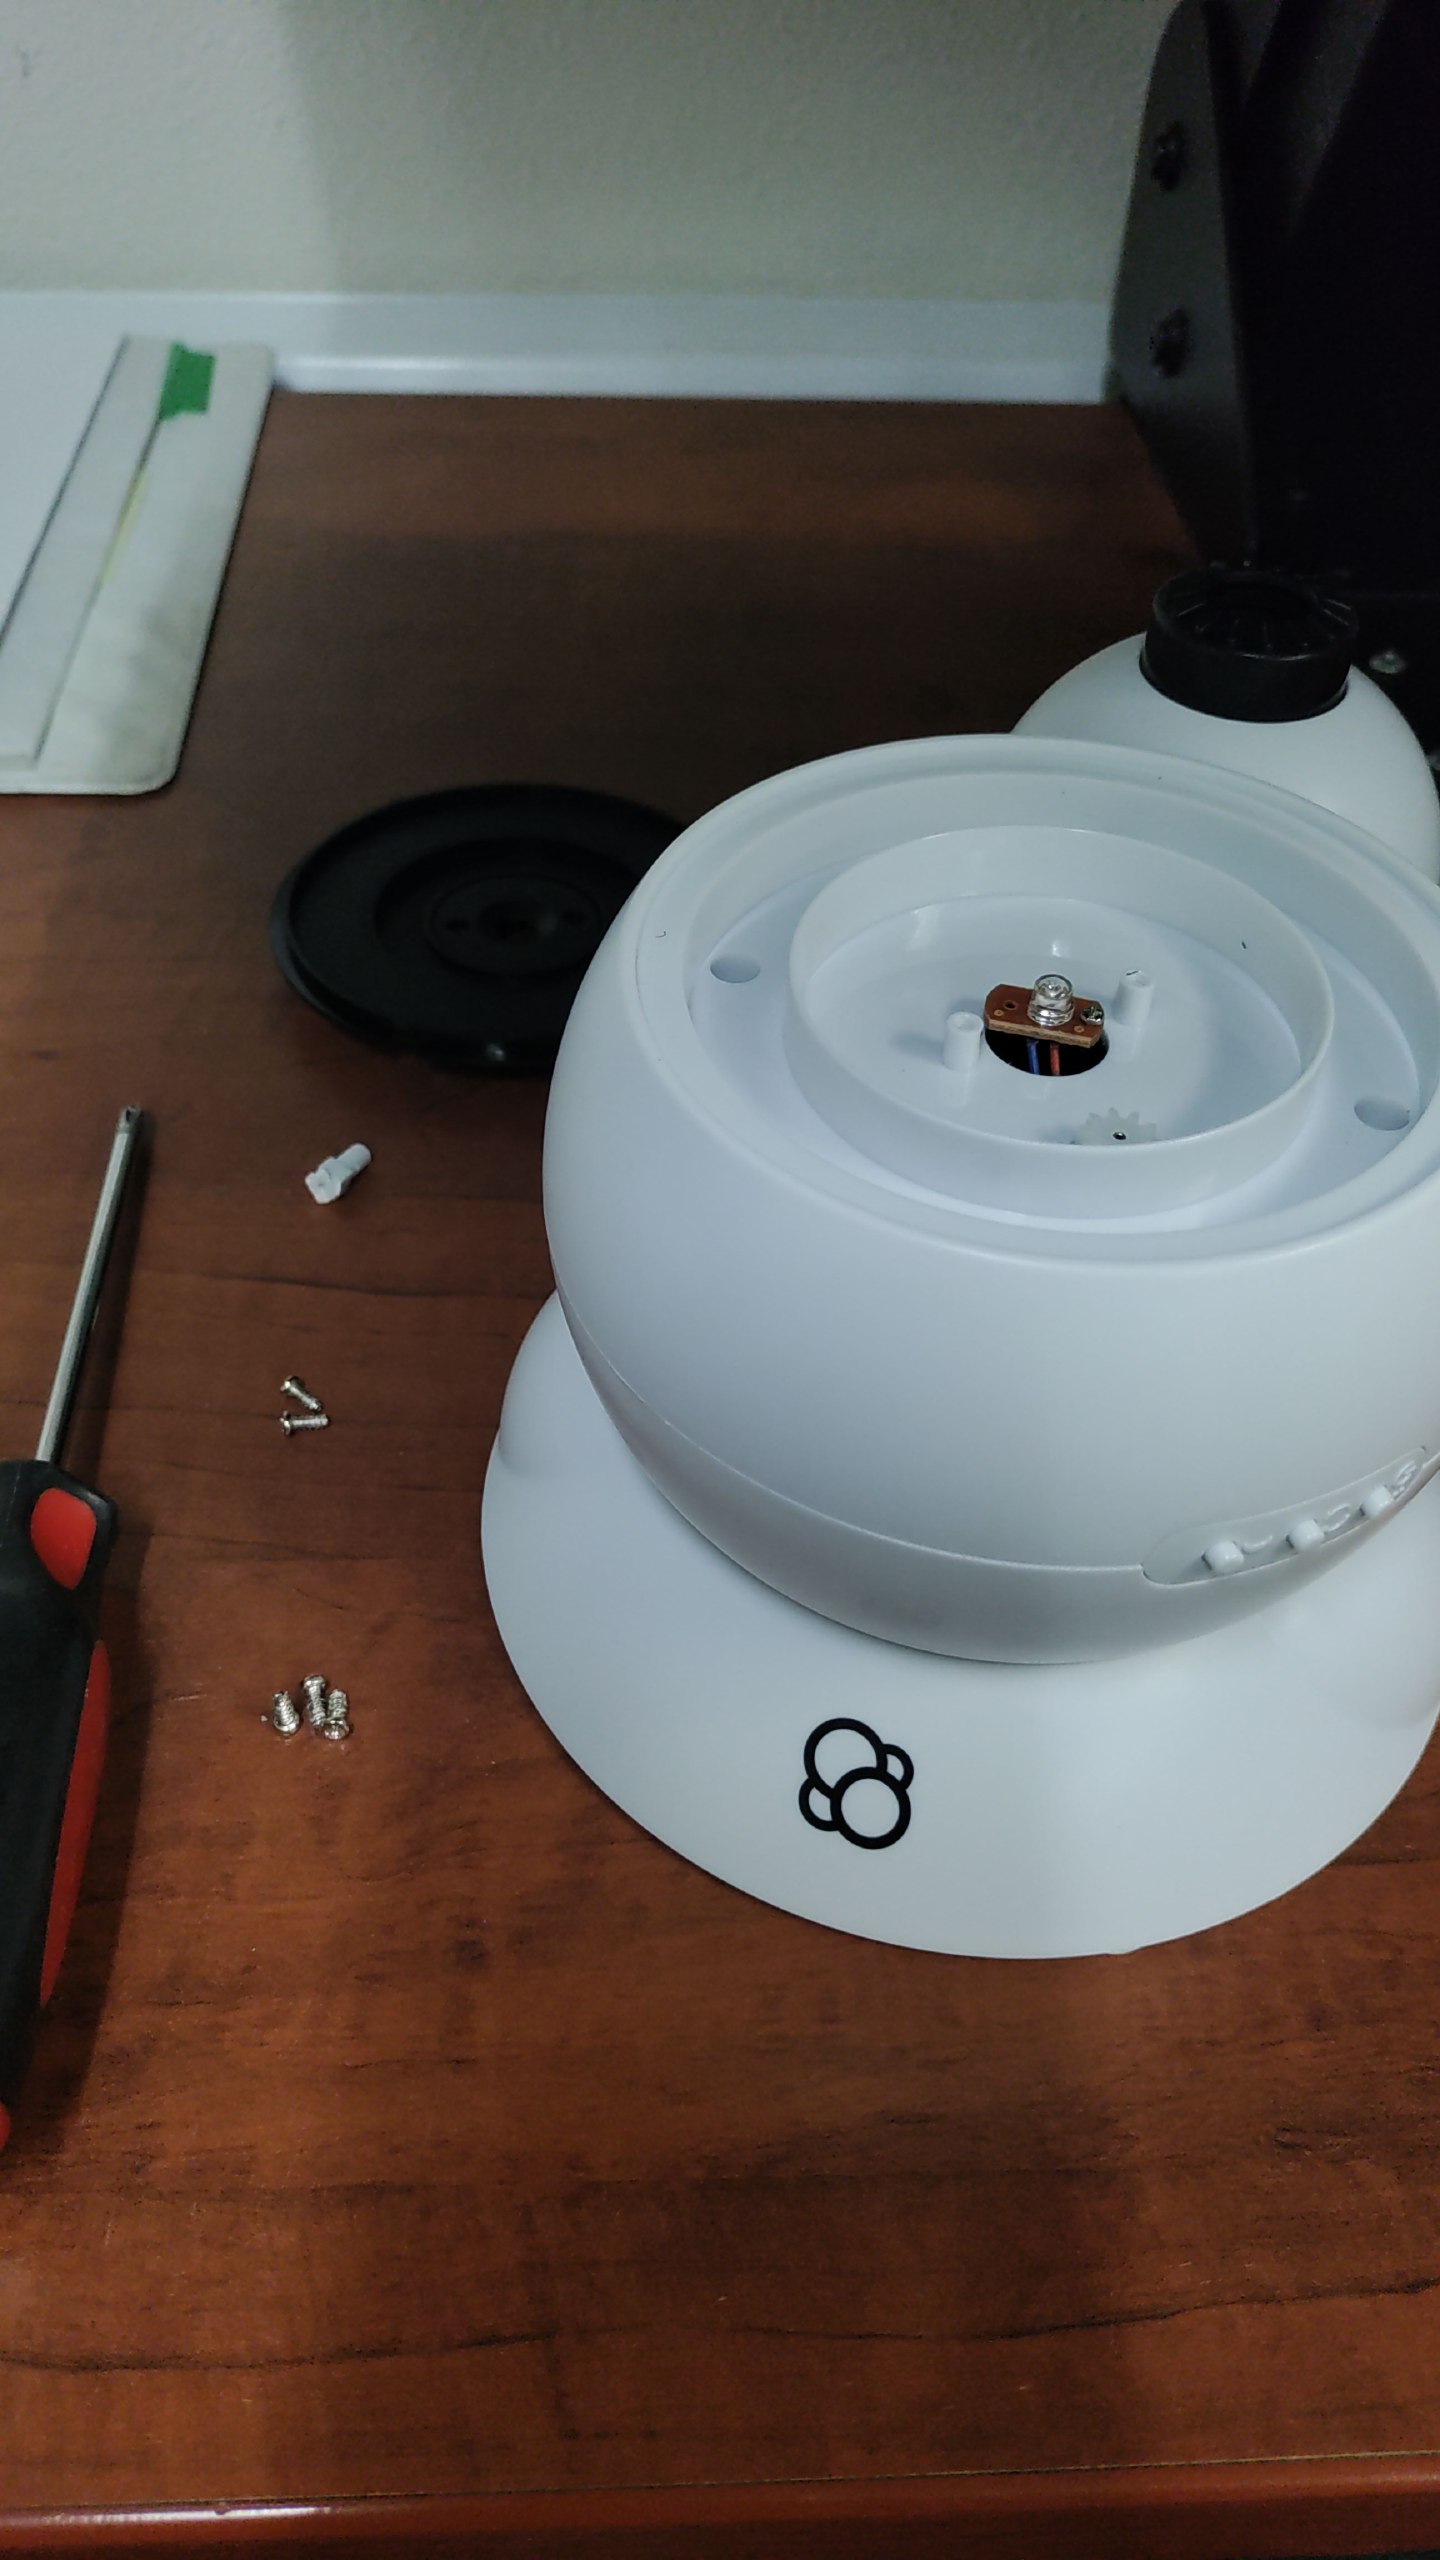
It didn't take long to figure out the problem, as the broken part inside (which turned out to be a plastic post that broke off), had rattled around and tore off the wiring which went to the USB-C connector for power. About 30 seconds with the soldering iron and it was back to functional, and then I spent some 20 minutes figuring out how to overcome the broken plastic part. But, a spring and a screw and a little bit of luck provided a solution, and, for all intents and purposes, it works as good as new.
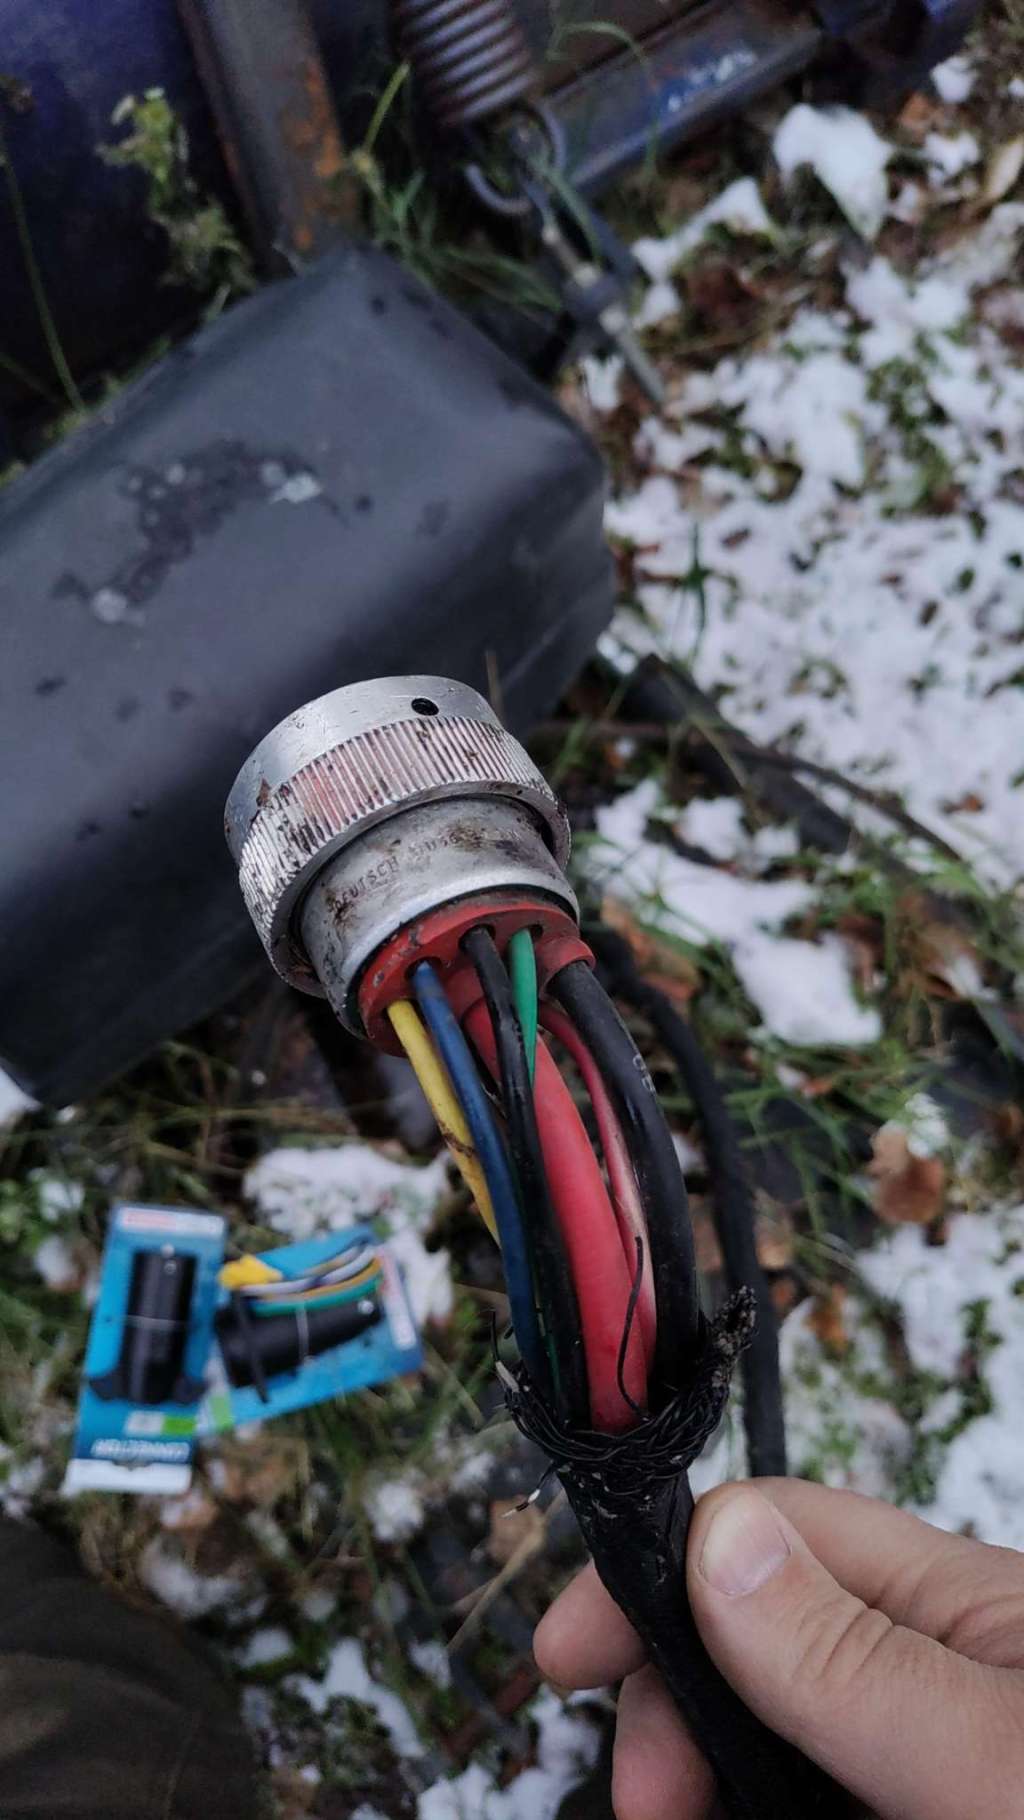
Next on the "needs fixed" to-do list was the plug in for my snow plow. You can't tell much from this picture, but the old connector for my snow plow had multiple pins that were busted, or wouldn't stay in place, or just didn't make good connections anymore. While this part is a straight plug, the other side is a 90 degree plug, and the wiring was pretty well beaten and torn. So, I replace the plugs with a 7 blade trailer lamp plug for all the controls, and a power plug that I took off of an old UPS battery backup system. It turned out rather nice, I think:
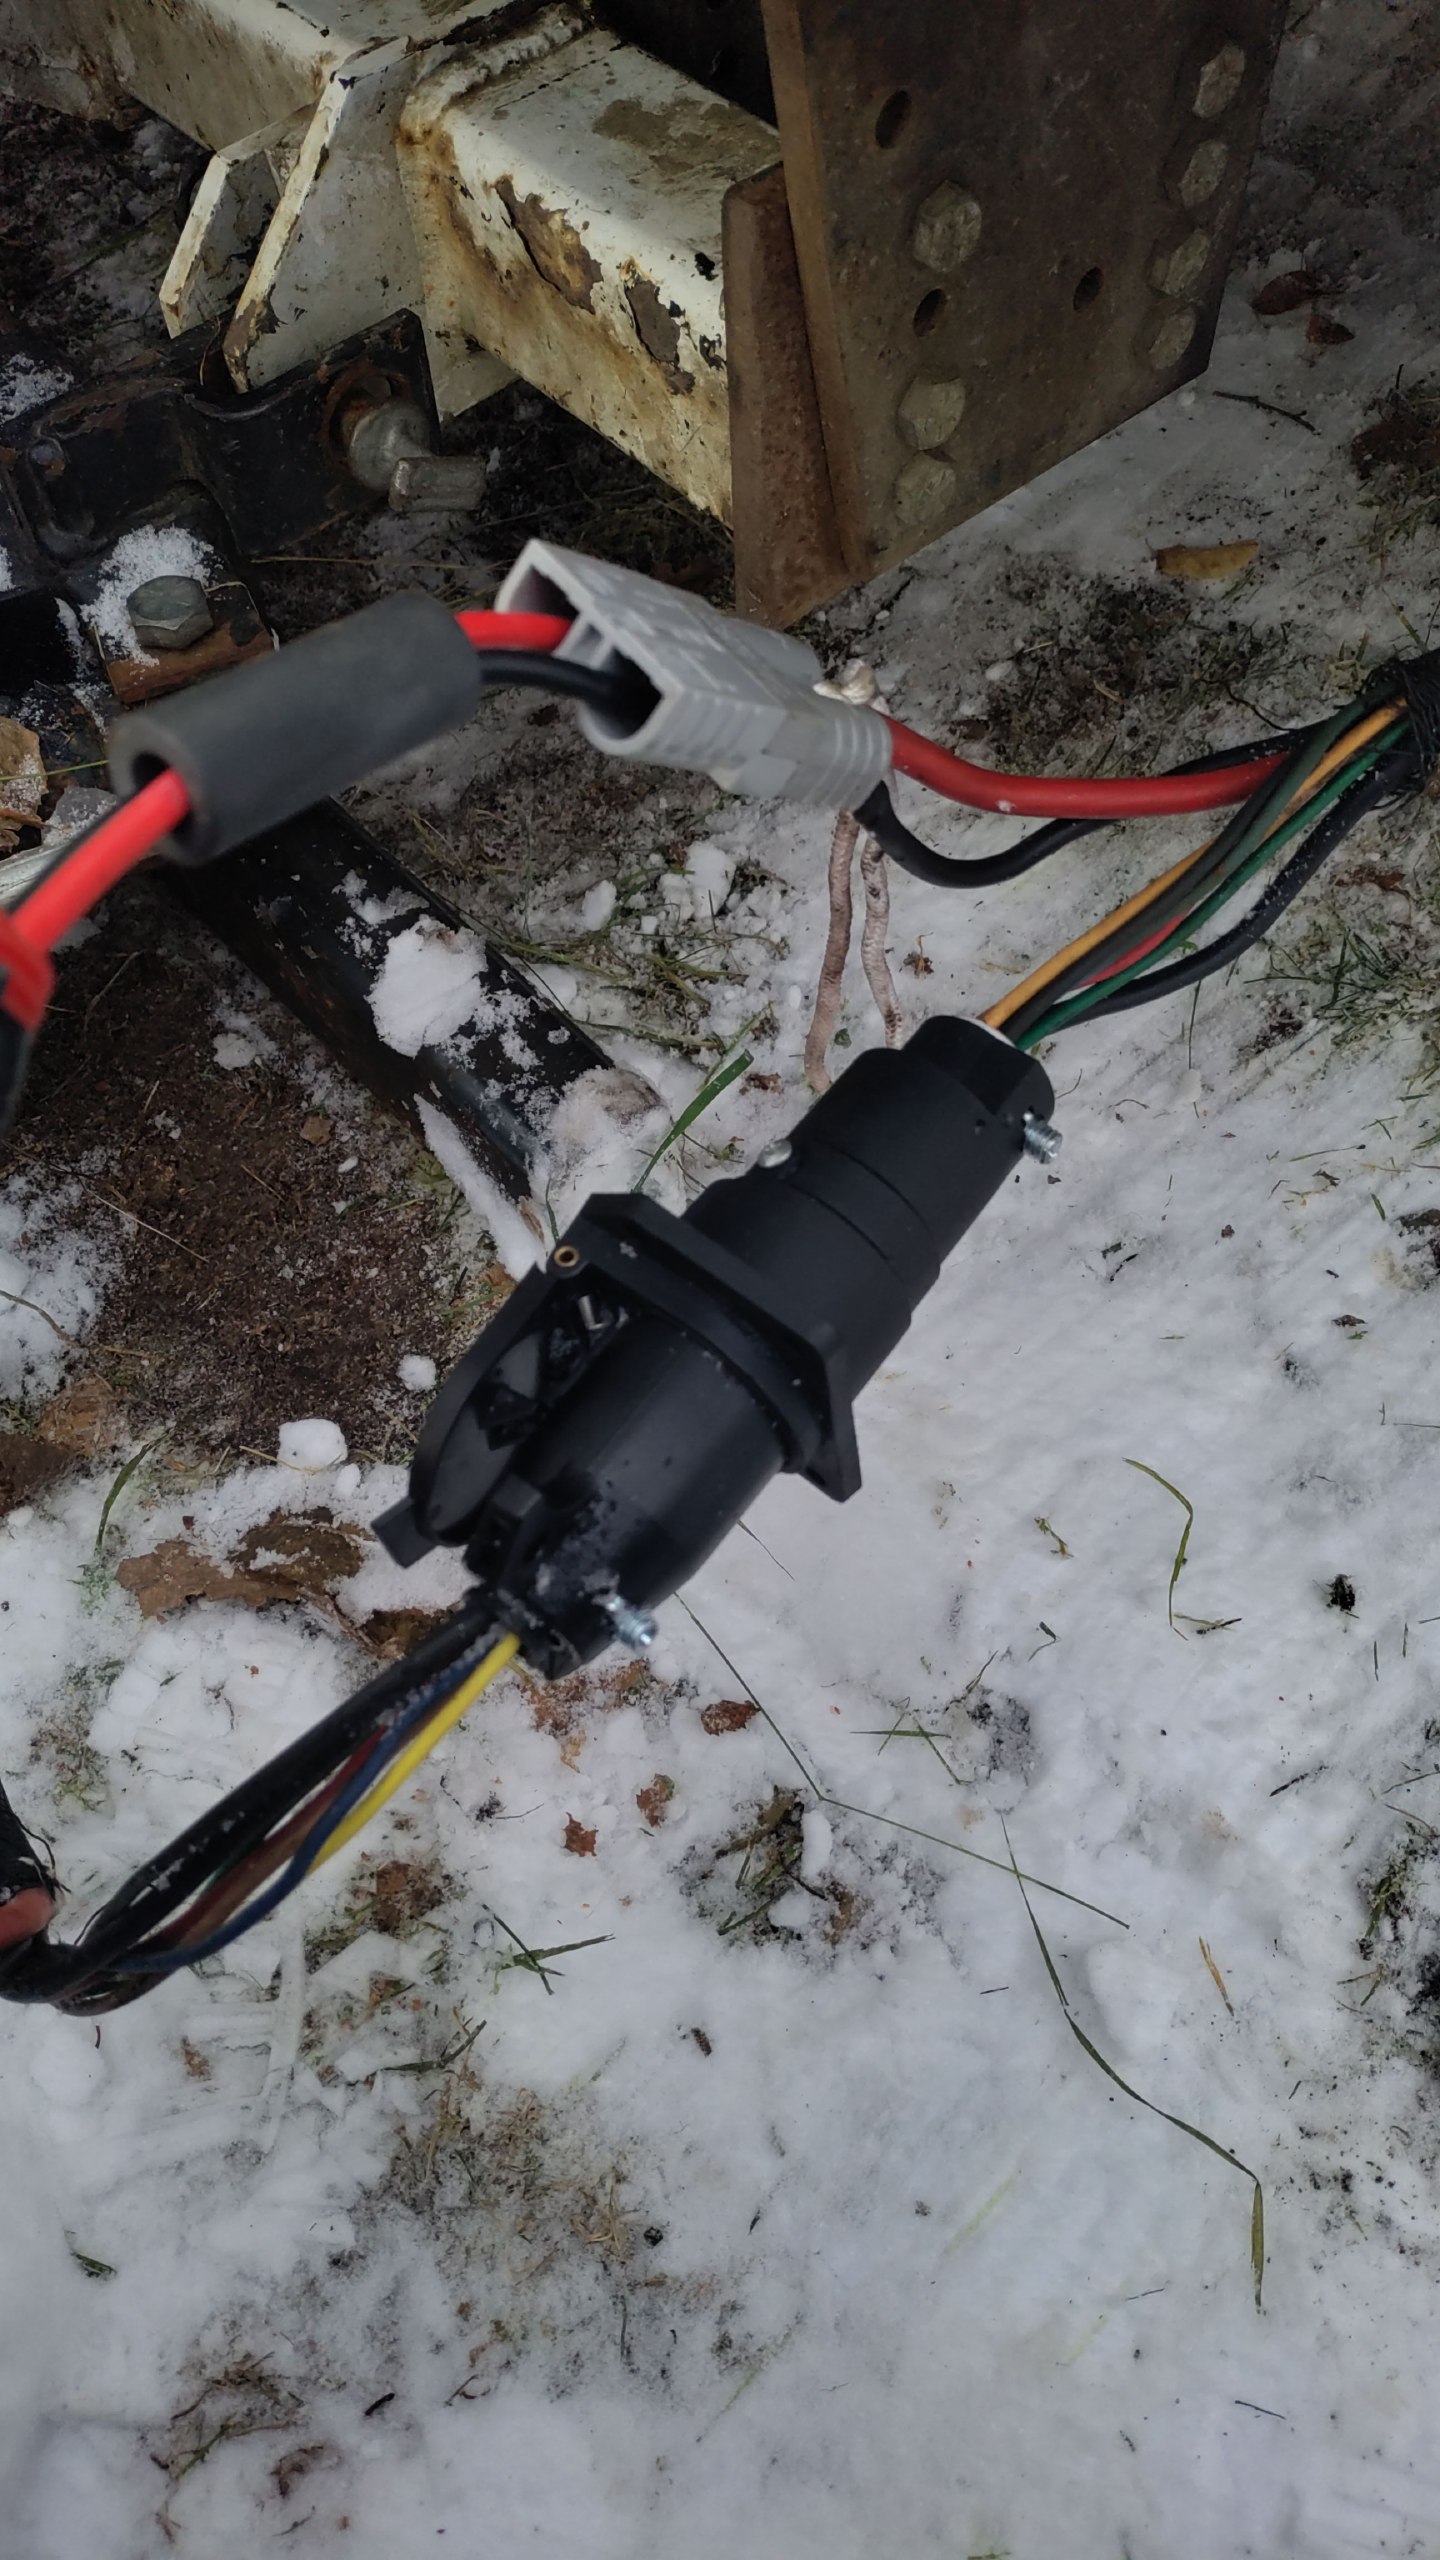
Of course, I still need to mount them in some fashion. I was thinking of making a custom plate that they mount to, which is then bolted to the plow mount itself, but we'll see. Either way, it was a huge blessing that the wiring worked the first time I used it, and I feel like the plow moved better than it ever had before!
Linux - keep it simple.
TreeFrogUI on an SF3000
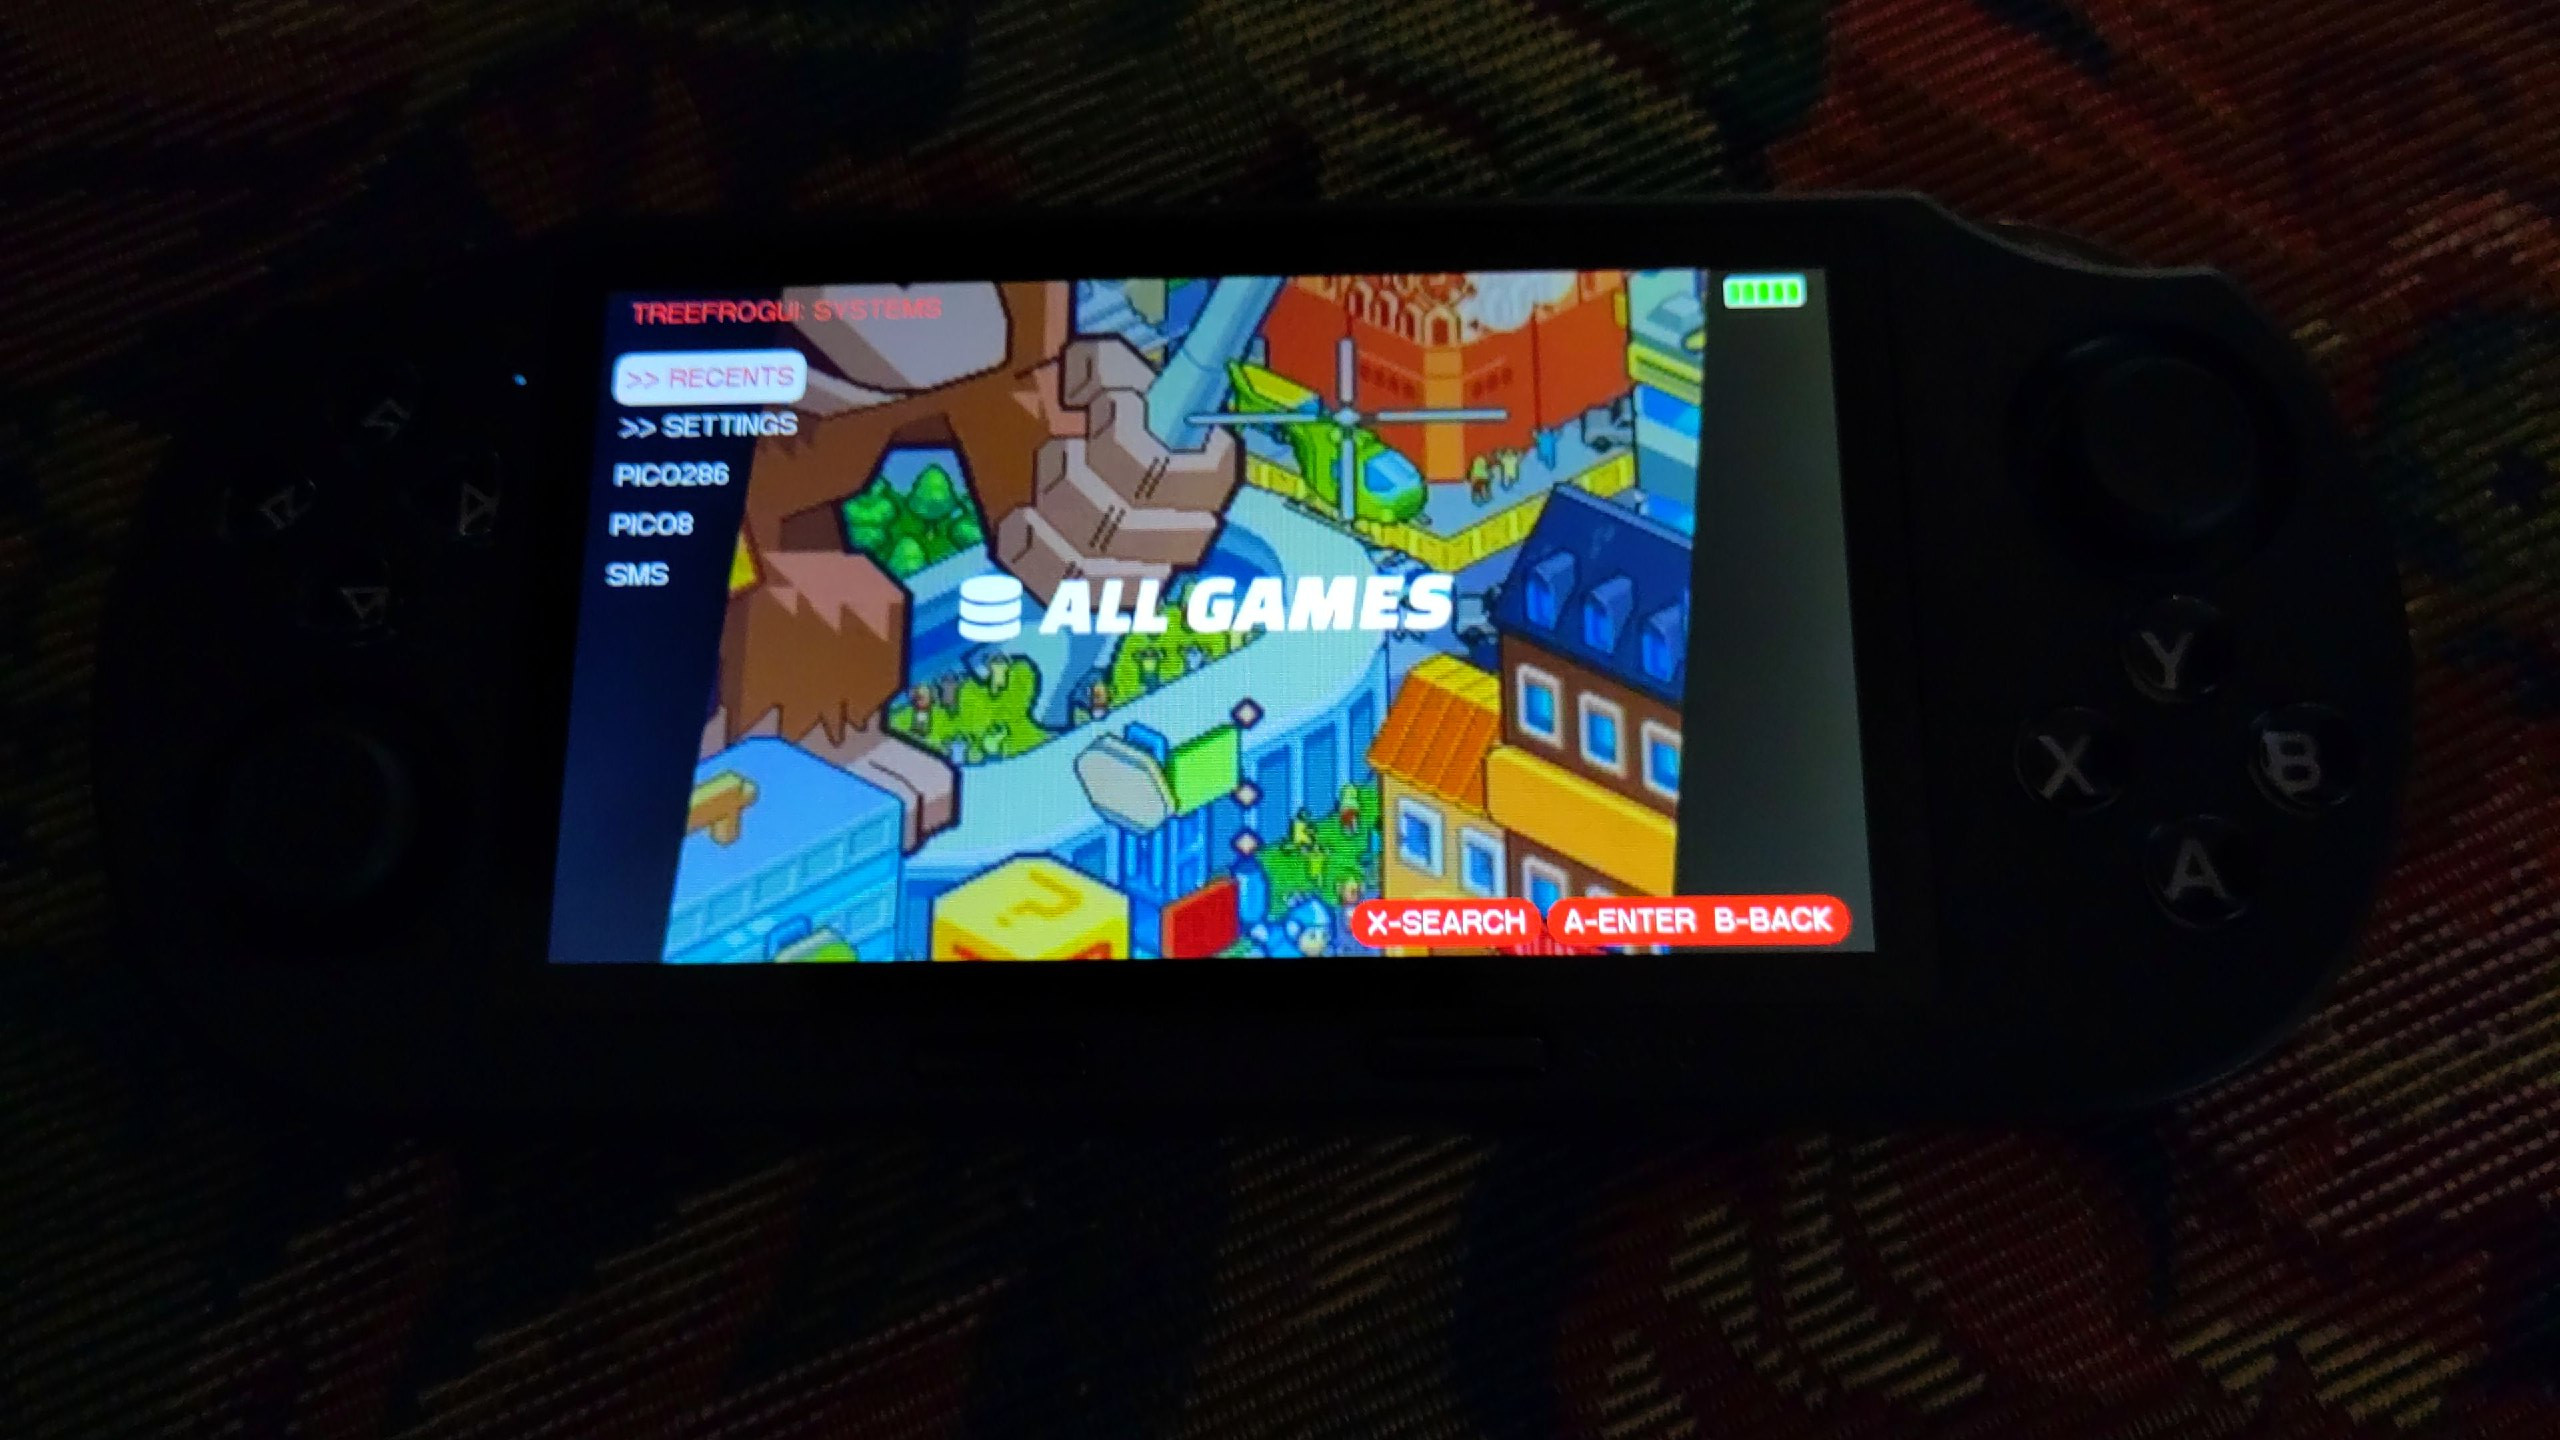
After weeks of saving, mowing the grass for a little extra cash, and putting his meager allowance money into his proverbial piggy bank, my son finally saved up enough dough to buy a retro gaming console. I helped him look through and review a lot of options, and he settled on the SF3000[1] (not affiliate link). It looked like a pretty neat handheld retro gammer, and for the most part, it is/was. However, my wife and I had a few concerns once it arrived.
First, there are a lot of games on there that are not appropriate for him to play, as well as many games that are in other languages. Second, and perhaps more concerning, was that the User Interface (UI) had multiple background images of disproportional anime women wearing skimpy outfits. Not really something I want to promote to my young son.
If you've been around my blog for any length of time, you'll probably note that hacking retro game consoles is not outside of the norm around here [2]. My first order of business was to hack the original firmware and change the backgrounds. This proved a little difficult. It has a removable SD card, but when you plug that card into any computer, the 64GB card would show as 16GB and be unreadable. I monkeyed with that for a while, but eventually found a place that had the full backup of the original 64GB card (download here [3] or here [4]), which I downloaded and, saving the original card as a handy backup, used a fresh card, formated to exFat, and put all the original files on it via "drag and drop" in the file manager.
Once I popped the card back into the SF3000, it seemed to work just fine. I popped it back out, and started editing the UI. This also proved rather difficult, because the background images were kept in a zip file called resources.cps. Fortunately, it could be unzipped like a standard zip file in Linux, but inside was a bunch of background images named .raw files. I remember from the old days of working on cell phones that I used to edit raw files for the boot loader screen, but to be honest, I couldn't remember how I did it. I tried looking it up, but all references to .raw files now refer to camera raw files, which are not the same thing. So, I cheated. I found one background that I liked, which was clean and an image of good old Link, and copied that raw image over the other named background images. Then, rezipping the files back up, I compared the two zip files (the original and mine), and the size of the files were identical. Popped the sdcard back into the SF3000, and all was right in the world of background images being kid appropriate.
Now there was the matter of the games. Much like I saw with the retro game stick I used on the TV, the SF3000 uses a database to hold the names of the games. Adding or removing games becomes quite a bit more complicated in this case, though, because it splits all the games amongs equalish sized folders numbered 000 on up, and each folder has a part of a database file that seemed to need to be put together. I probably missed something here, but after about 5 minutes of looking, I was not excited to start this process. Fortunately, in doing some searching, I was quickly brought to a way better alternative: TreeFrogUI [5].
TreeFrogUI "hijacks" the original UI by forcing the original UI to "start a game" on boot. Only, that game is actually the TreeFrogUI interface. The TreeFrogUI interface is a really cool, simple, and clean interface to select games. It is themable, has a built in music player - Rockbox no less! And it also includes many more emulators than the original UI. Instead of being limited to 14 emulators, you now have 57! It features autosaves, quick resume, all sorts of goodies, and the artwork for backgrounds is much more palatable to parents of young children and adults who don't wish to hide their game console from their wife.
I did, however, run into problems installing TreeFrogUI, and I wanted to share the clean path forward I learned, in case you try to do the same. Using the card I had made and hacked didn't work. Restoring it back to the files I downloaded from the internet didn't work either. Following the links on the TreeFrogUI page to download the baseline sf3000 card (a minimal card without any games on it), didn't work either. Instead I needed to download this version from Q_ta [6], reformat the card as exFat, and "drag and drop" all these files to it. With this card, you can pop it into your SF3000 and boot the original UI sans the games, if you want to start fresh. I will note that this card's files were different, as far as my original background hack would not work on this card, because it used a different method to store them based on languages.
After testing this fresh install, I popped the sdcard back out, put it into my computer and went to work. I downloaded the latest release 1.0.9 [7], and extracted those files in my computer's download folder, which makes a folder called "release". Open that folder and copy the cubegm, frogui, MD, and roms folders to the sdcard via "drag and drop", which will ask you if you want to overwrite such and such files, to which you answer yes. Then, in the release folder, go into the install first folder, and open the sf3000 folder. Copy the cubegm folder there, and paste it into the sdcard, which will also ask if you want to overwrite files, so say yes. Properly eject the card, and you can now pop it back into the sf3000, and you should see the new TreeFrogUI image, and finally the UI will load.
Now to put roms onto the card, pop it back out, put it in your computer, and copy rom files to the appropriate folders under ./roms (note that there are rom folders, like GBA, etc., under the root of the sdcard, but you need to go into the ./roms folder and put them in the gba folder there, ./roms/gba works, ./gba does not). We tested Sega Master System, Super Nintendo, Nintendo, Play Station (one), Mame/arcade, Game boy, Game boy color, Game boy advanced, and everything seemed to work as expected!
So far, it seems to work pretty good, though if there are a lot of titles in one folder, it seems a little slow to load them, something they will fix with 1.0.10, which came out after I made this for my son, but before the time of this writting. In any event, hopefully this little write up will help the next person who is struggling to understand what the TreeFrogUI instructions wanted you to do (or maybe it was just a "me" problem...).
Linux - keep it simple.
[1] https://handhelds.wiki/SF3000 [2] https://alaskalinuxuser3.ddns.net/tag/retro-game-stick.html [3] https://drive.google.com/drive/folders/1uG9Yba83T6P5scQ-qvUAePUpMcJQ5PWA [4] https://archive.org/details/sf-3000-stock-folder-copy-all-contents-of-this-folder-but-not-the-folder-itself- [5] https://github.com/tzubertowski/treefrog-ui/tree/main [6] https://github.com/Q-ta-s/q-ta-s.github.io/releases#release-sf3000_1 [7] https://github.com/tzubertowski/treefrog-ui/releases#release-v1.0.9
Fixing USB game controllers
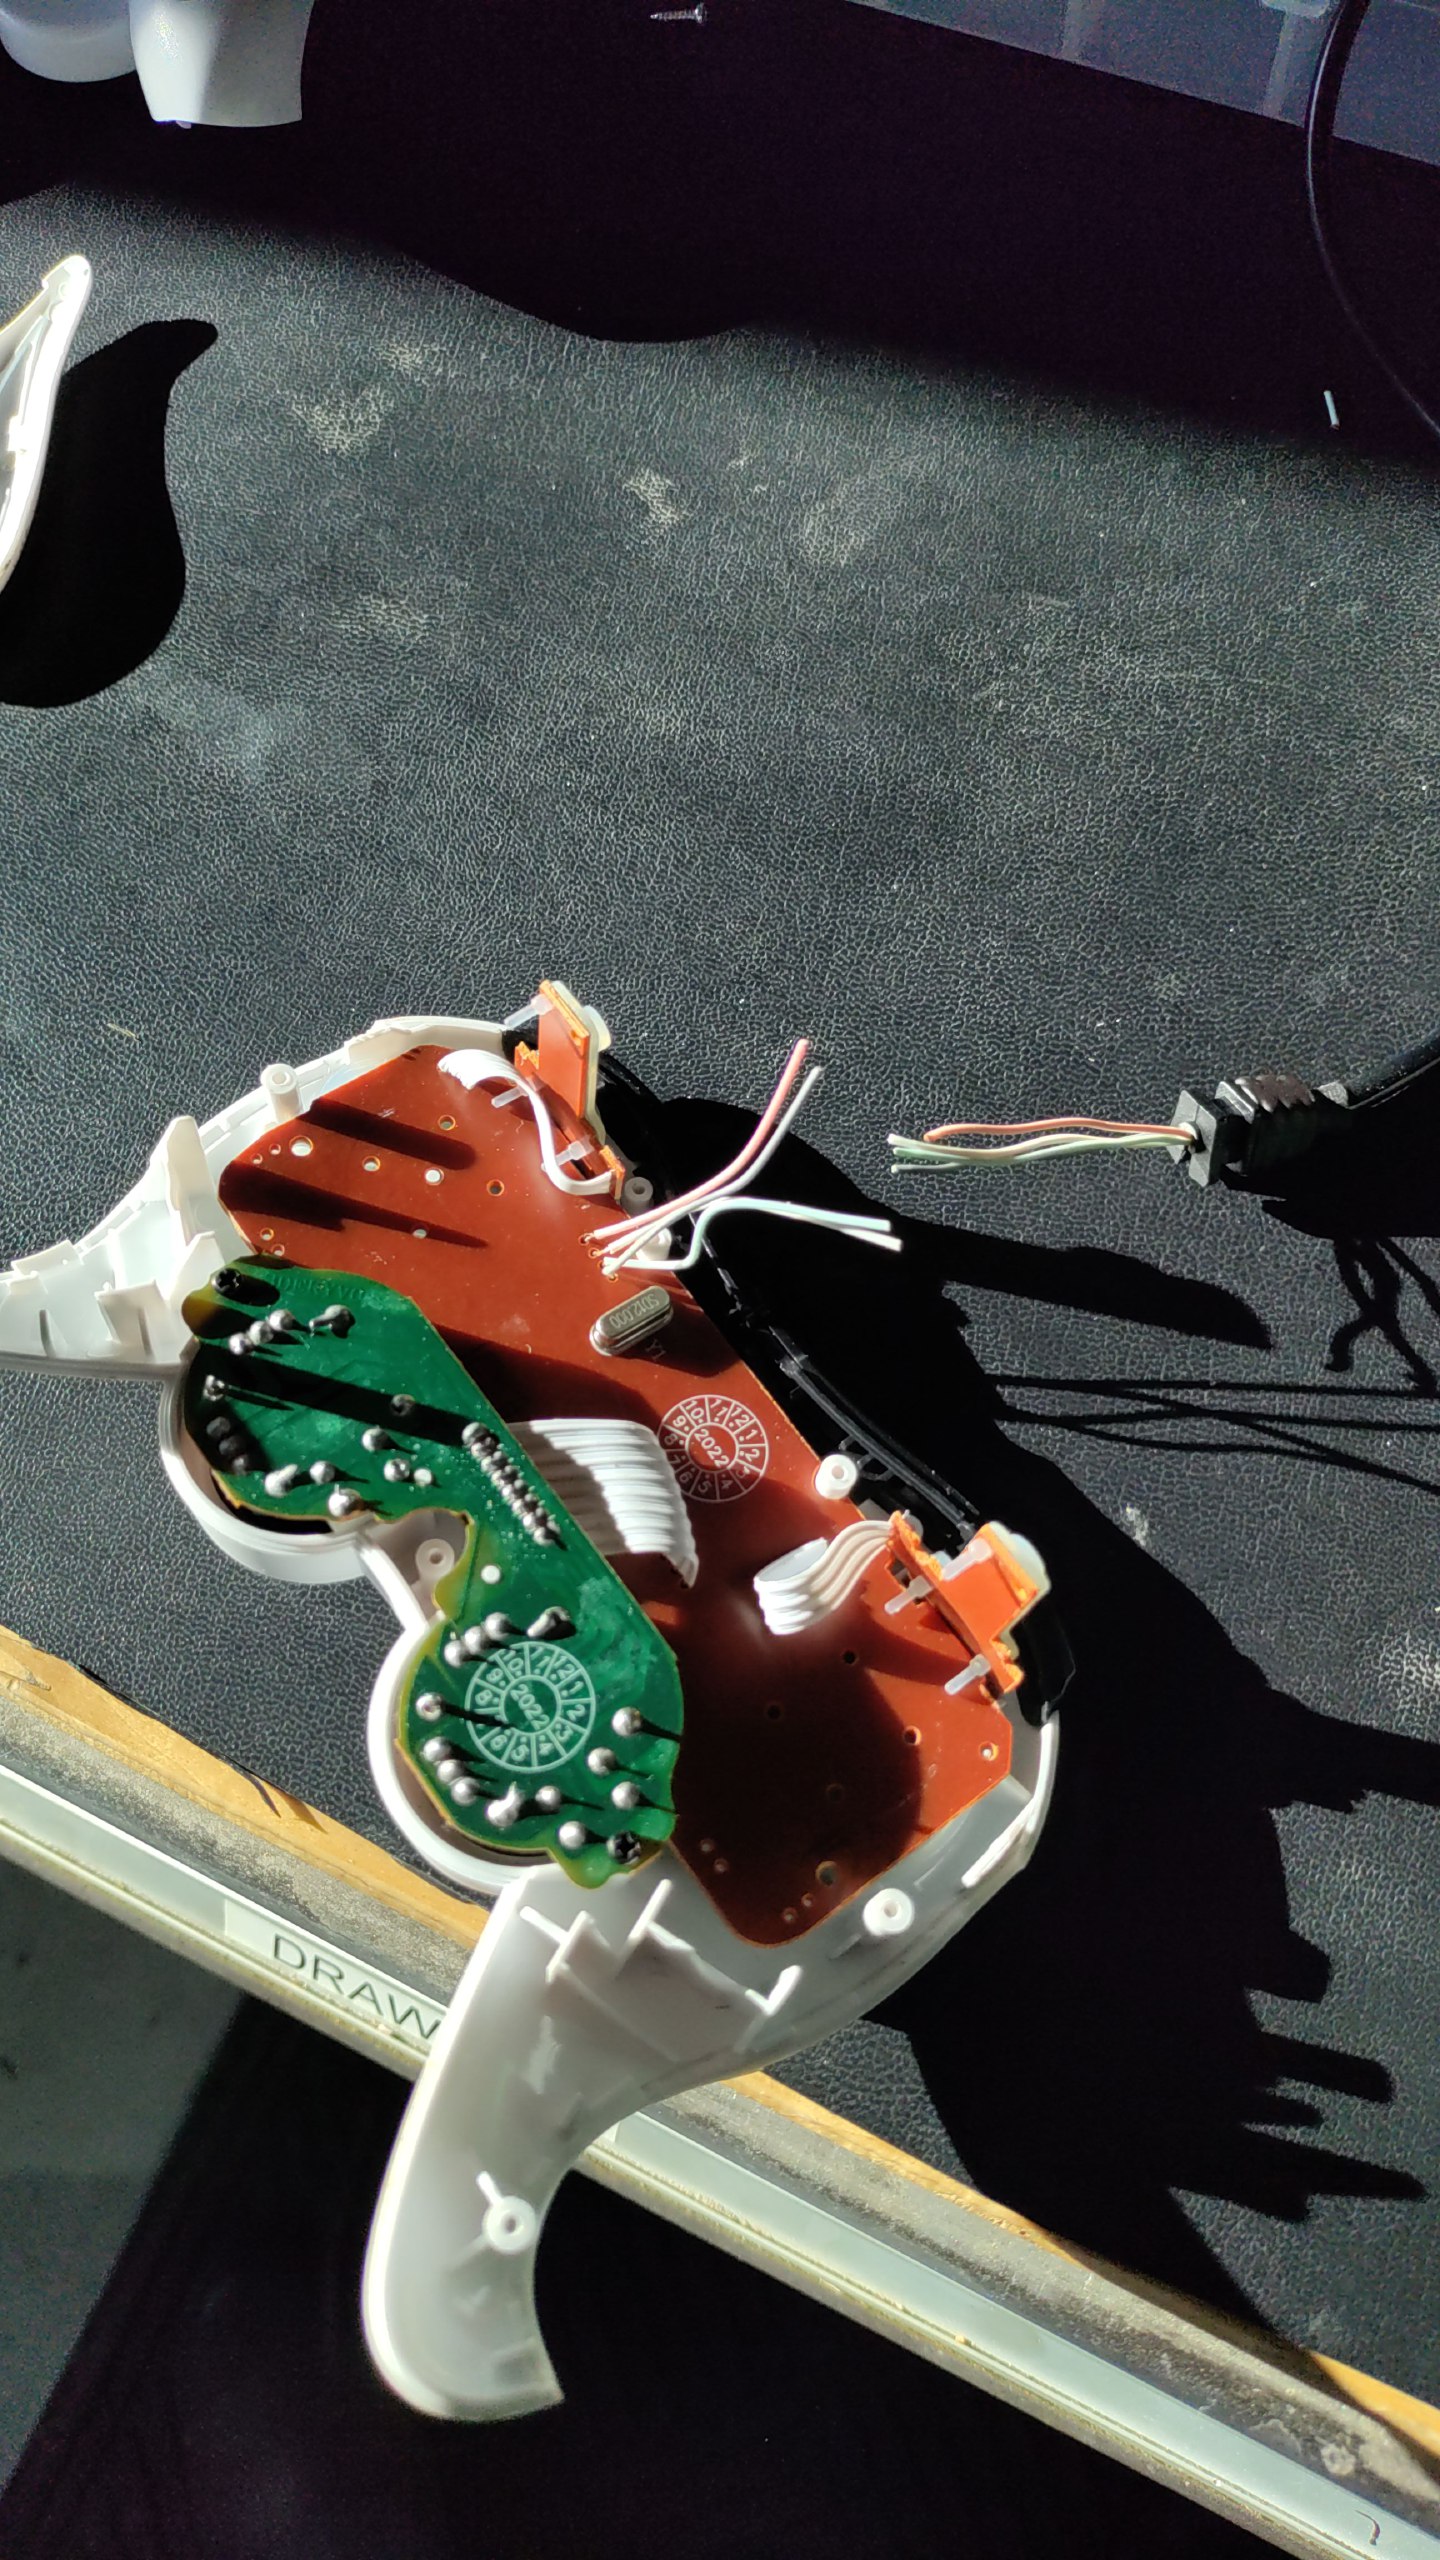
Not much to say in this post, just taking some time for some soldering practice while I fix a couple broken USB controllers.
I got these cheap USB video game controllers that I've been using with a Retro Game Stick, you know, the little stick that you plug into your TV HDMI port that comes with thousands of games? I have some posts about hacking mine, and feel free to check those posts out. [1] But back to the subject at hand, these USB controllers worked pretty good, but after a year of use (only on Saturdays), both of these controllers quit working. As you can see from the picture below, the stress on the cable at the gromet caused the wires to break.
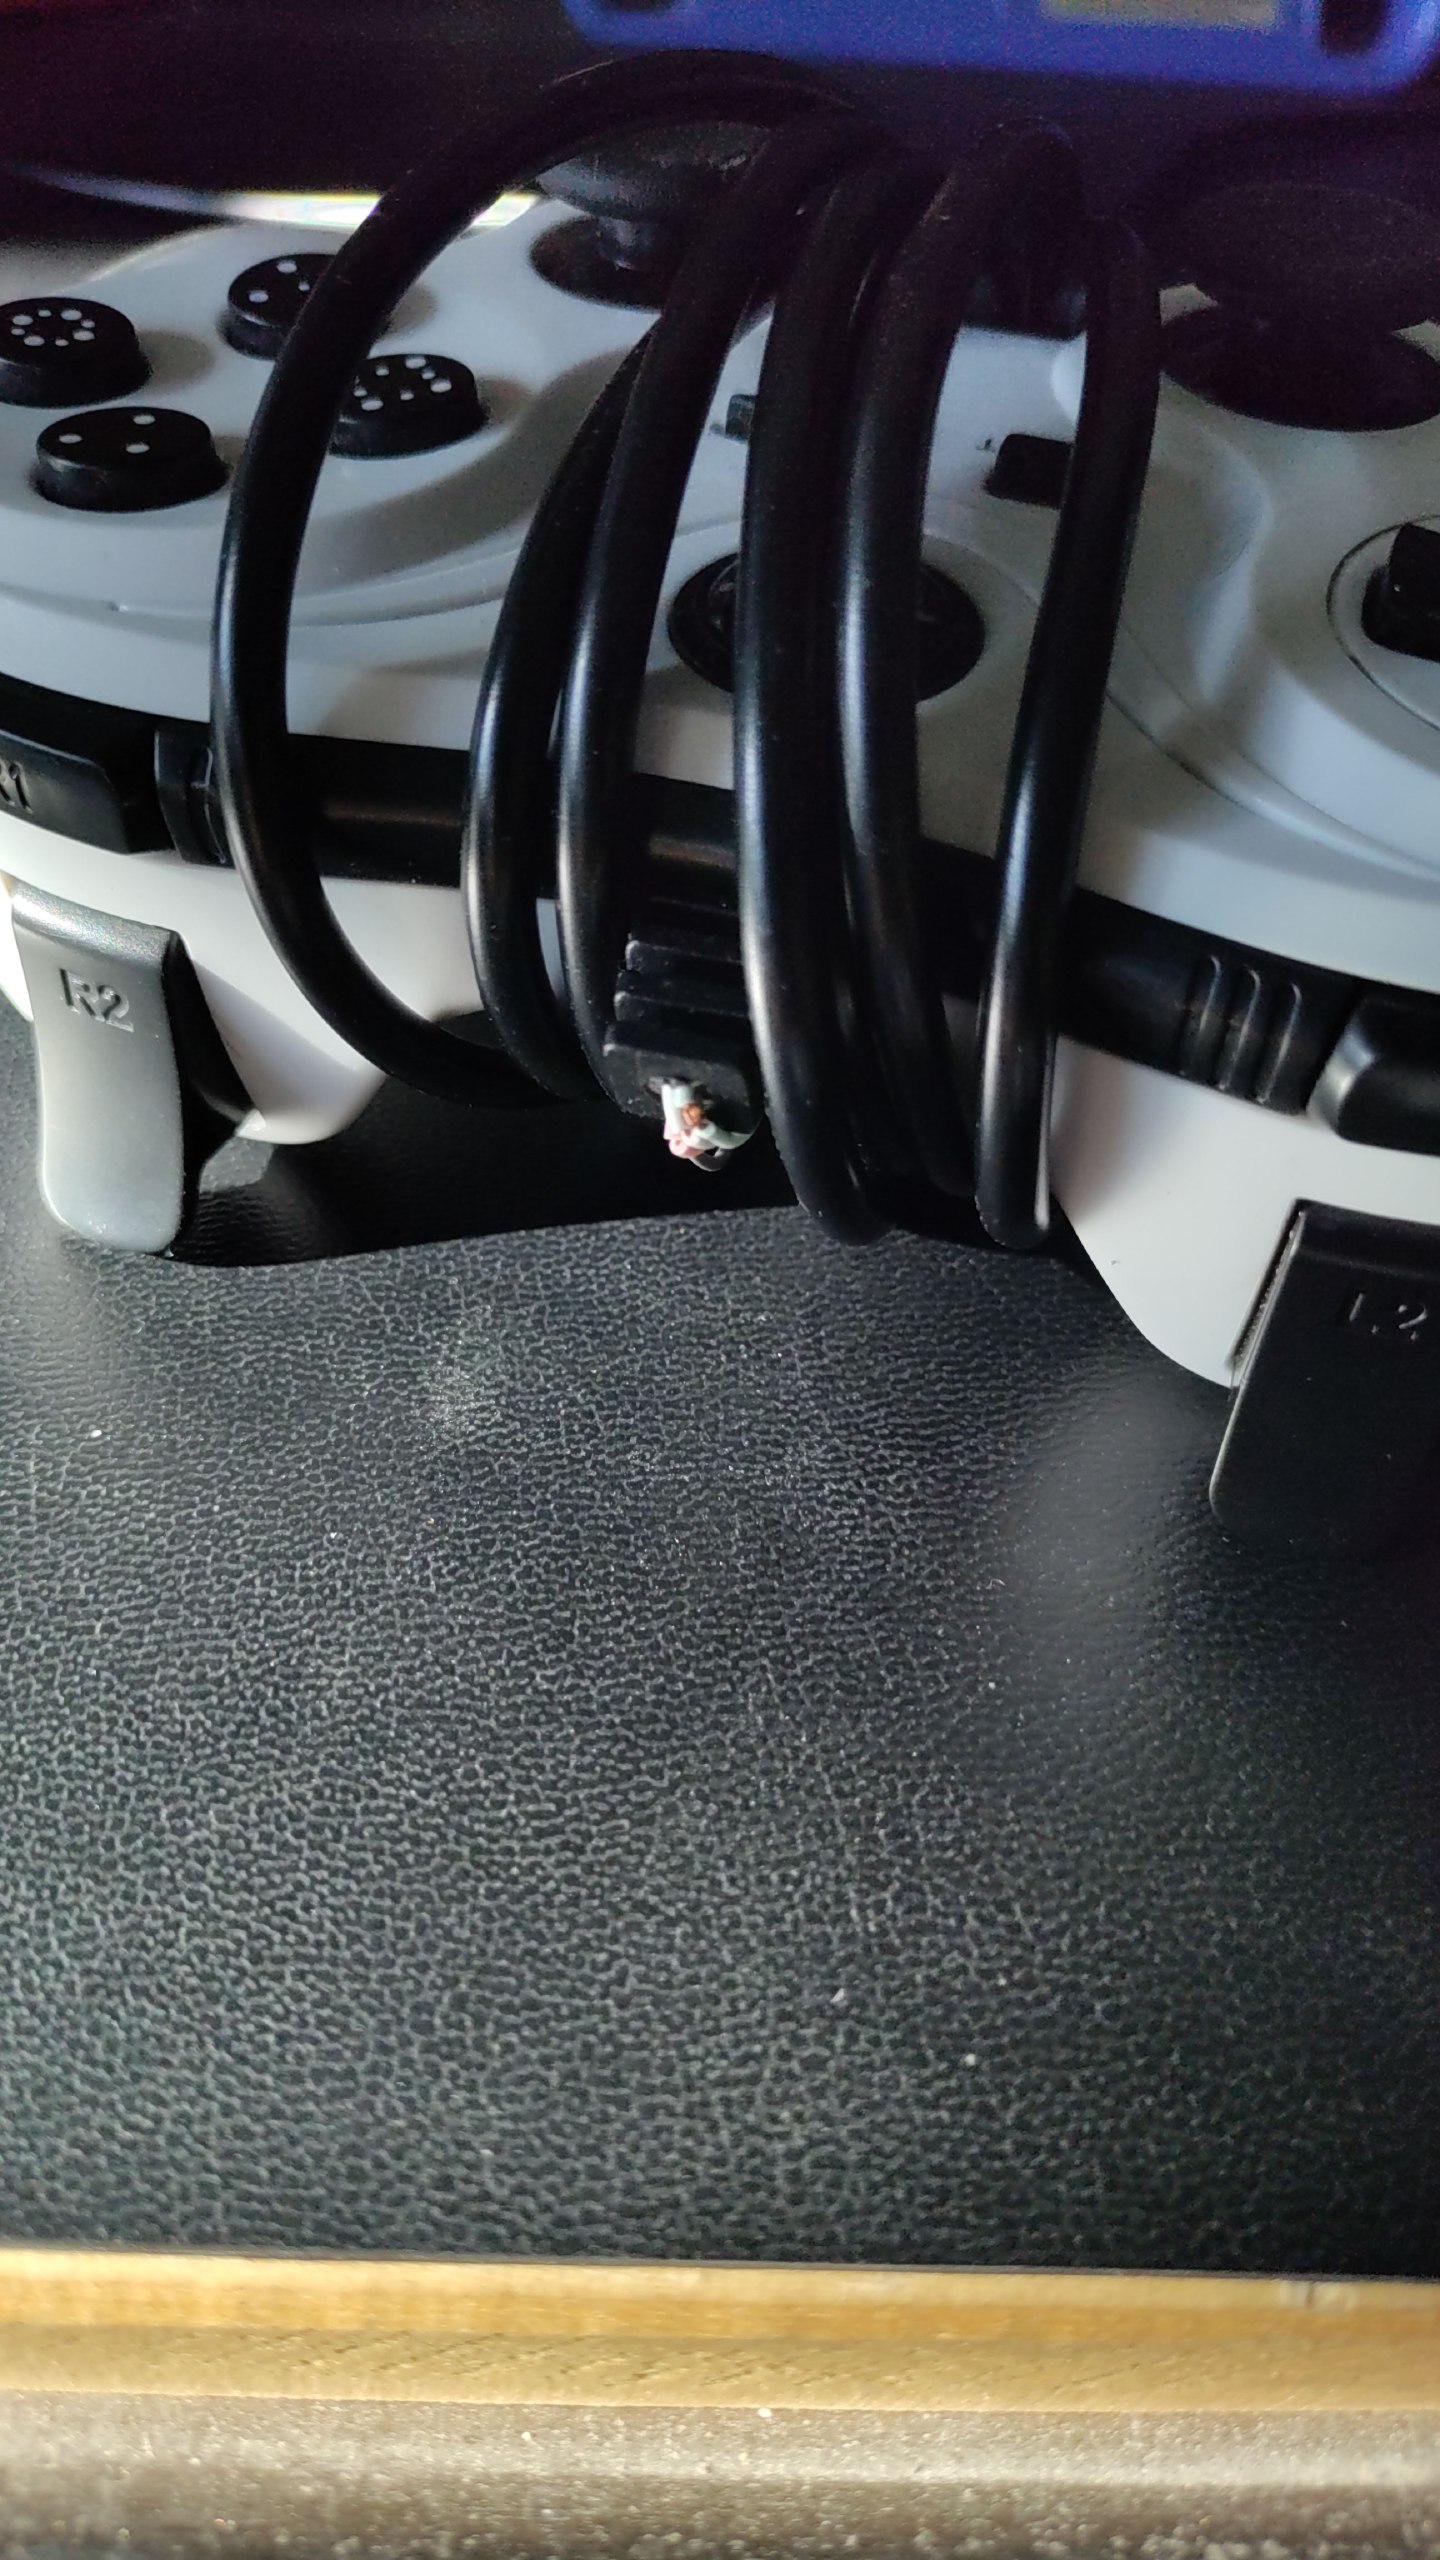
That left me with two choices, throw them out or fix them. So I decided to fix them. I had to cut the gromet down one side so I could slip it back over the wire when I was done, and I put some heat shrink around that to hold it together tightly. A little loop of wire inside to prevent the kids from pulling it out, resolder the connections, put a little paint over the wires where they were soldered, and I'm all done!
It even worked when I tested it!
Linux - keep it simple.
[1] https://alaskalinuxuser3.ddns.net/tag/nostolgia-stick-game.html