Using my new Playstation controller
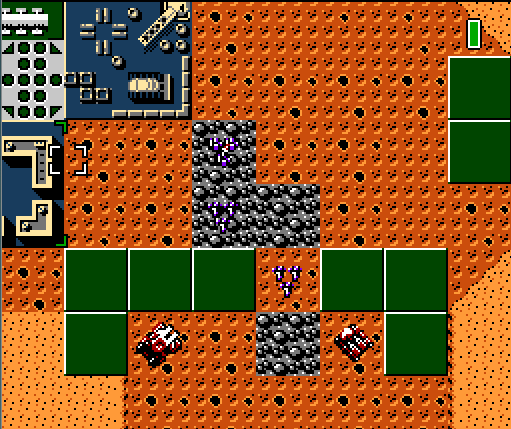
Recently I had a birthday where I was given a new Sony Playstation 5 Dualsense controller [1] (not an affiliate link). I actually don't have a Playstation, but the idea behind it was that it should work well with Ubuntu, and possibly Ubuntu Touch. This was a really cool gift, because the giver read my blog, saw what I was working on and how I commented about emulators and my lack of a controller, and made that happen! Well, I'm happy to report, not only does it work on my desktop computer, but also on Ubuntu Touch!
If you can see the above screenshot, then you can see me playing Dune, the NES version, or hack? It was made after Dune2 came out and allowed you to play a Dune2 remake on the Nintendo. Pretty cool stuff, though the controlls were a bit cumbersome, even with my awesome Playstation controller. One of the game's shortcomings is that you have to remember what you had selected last, because that will determine what the "A" button does. E.g., you thought you clicked on the light duty vehicle factory, then you click on and move some troops, and then mash the A button to build a trike, but you actually last clicked on the construction yard, and now you are going to have to figure out where to lay that 4 square yards of concrete!
Of course, the Playstation controller is Bluetooth capable, as well as having a USB-C connector so you can cable up or wirelessly connect to your computer or phone. Once I performed a pairing with my Ubuntu desktop, the controller immidiately was working for emulators that supported gamepads. No need for extra drivers or anything, which was really cool. Likewise, when I paired it with my Ubuntu Touch phone, it immidately started working.
However, it only works in Ubuntu Touch with apps that support gamepads/joysticks/controllers. For instance, my emulator I made, NesJs, does not support them, and that was a bummer. However, I downloaded the snap version of SNES9x-QT, which did support it! So, super cool! Super neat! And now I need to go figure out how to add that support to my apps.....
Linux - keep it simple.
[1] https://www.walmart.com/ip/Sony-PlayStation-5-DualSense-Wireless-Controller/188140087
TreeFrogUI on an SF3000
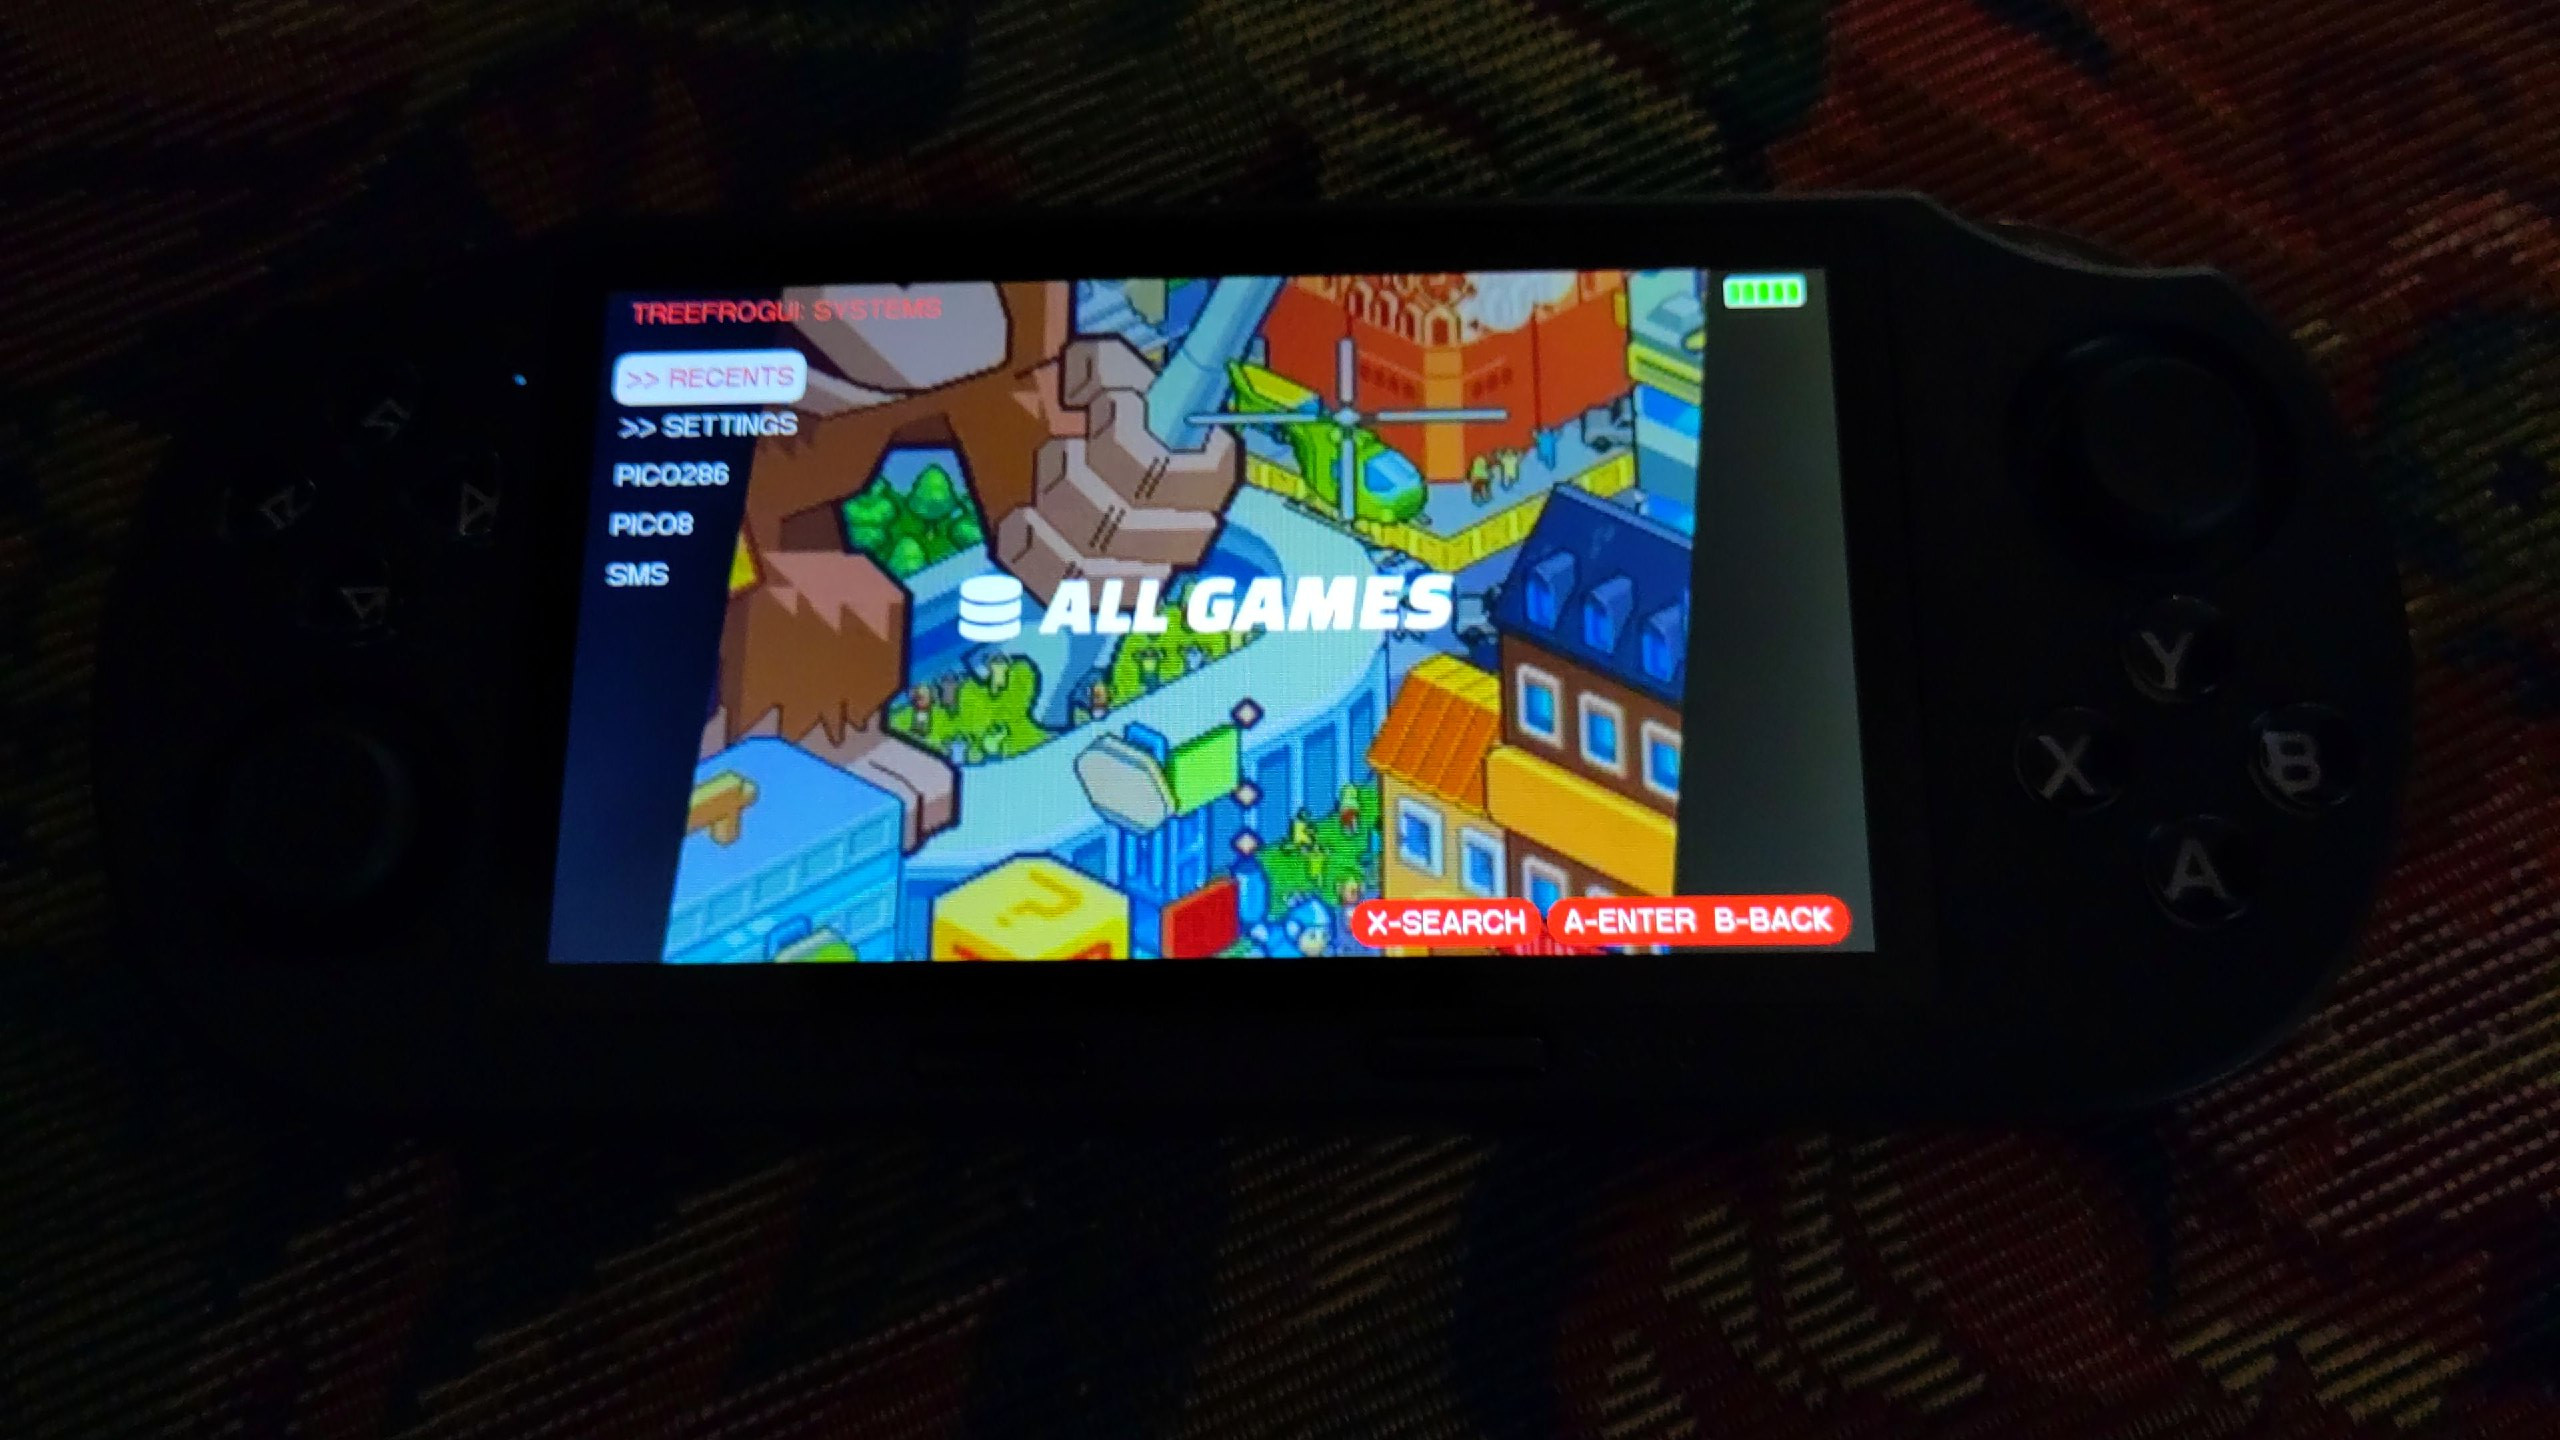
After weeks of saving, mowing the grass for a little extra cash, and putting his meager allowance money into his proverbial piggy bank, my son finally saved up enough dough to buy a retro gaming console. I helped him look through and review a lot of options, and he settled on the SF3000[1] (not affiliate link). It looked like a pretty neat handheld retro gammer, and for the most part, it is/was. However, my wife and I had a few concerns once it arrived.
First, there are a lot of games on there that are not appropriate for him to play, as well as many games that are in other languages. Second, and perhaps more concerning, was that the User Interface (UI) had multiple background images of disproportional anime women wearing skimpy outfits. Not really something I want to promote to my young son.
If you've been around my blog for any length of time, you'll probably note that hacking retro game consoles is not outside of the norm around here [2]. My first order of business was to hack the original firmware and change the backgrounds. This proved a little difficult. It has a removable SD card, but when you plug that card into any computer, the 64GB card would show as 16GB and be unreadable. I monkeyed with that for a while, but eventually found a place that had the full backup of the original 64GB card (download here [3] or here [4]), which I downloaded and, saving the original card as a handy backup, used a fresh card, formated to exFat, and put all the original files on it via "drag and drop" in the file manager.
Once I popped the card back into the SF3000, it seemed to work just fine. I popped it back out, and started editing the UI. This also proved rather difficult, because the background images were kept in a zip file called resources.cps. Fortunately, it could be unzipped like a standard zip file in Linux, but inside was a bunch of background images named .raw files. I remember from the old days of working on cell phones that I used to edit raw files for the boot loader screen, but to be honest, I couldn't remember how I did it. I tried looking it up, but all references to .raw files now refer to camera raw files, which are not the same thing. So, I cheated. I found one background that I liked, which was clean and an image of good old Link, and copied that raw image over the other named background images. Then, rezipping the files back up, I compared the two zip files (the original and mine), and the size of the files were identical. Popped the sdcard back into the SF3000, and all was right in the world of background images being kid appropriate.
Now there was the matter of the games. Much like I saw with the retro game stick I used on the TV, the SF3000 uses a database to hold the names of the games. Adding or removing games becomes quite a bit more complicated in this case, though, because it splits all the games amongs equalish sized folders numbered 000 on up, and each folder has a part of a database file that seemed to need to be put together. I probably missed something here, but after about 5 minutes of looking, I was not excited to start this process. Fortunately, in doing some searching, I was quickly brought to a way better alternative: TreeFrogUI [5].
TreeFrogUI "hijacks" the original UI by forcing the original UI to "start a game" on boot. Only, that game is actually the TreeFrogUI interface. The TreeFrogUI interface is a really cool, simple, and clean interface to select games. It is themable, has a built in music player - Rockbox no less! And it also includes many more emulators than the original UI. Instead of being limited to 14 emulators, you now have 57! It features autosaves, quick resume, all sorts of goodies, and the artwork for backgrounds is much more palatable to parents of young children and adults who don't wish to hide their game console from their wife.
I did, however, run into problems installing TreeFrogUI, and I wanted to share the clean path forward I learned, in case you try to do the same. Using the card I had made and hacked didn't work. Restoring it back to the files I downloaded from the internet didn't work either. Following the links on the TreeFrogUI page to download the baseline sf3000 card (a minimal card without any games on it), didn't work either. Instead I needed to download this version from Q_ta [6], reformat the card as exFat, and "drag and drop" all these files to it. With this card, you can pop it into your SF3000 and boot the original UI sans the games, if you want to start fresh. I will note that this card's files were different, as far as my original background hack would not work on this card, because it used a different method to store them based on languages.
After testing this fresh install, I popped the sdcard back out, put it into my computer and went to work. I downloaded the latest release 1.0.9 [7], and extracted those files in my computer's download folder, which makes a folder called "release". Open that folder and copy the cubegm, frogui, MD, and roms folders to the sdcard via "drag and drop", which will ask you if you want to overwrite such and such files, to which you answer yes. Then, in the release folder, go into the install first folder, and open the sf3000 folder. Copy the cubegm folder there, and paste it into the sdcard, which will also ask if you want to overwrite files, so say yes. Properly eject the card, and you can now pop it back into the sf3000, and you should see the new TreeFrogUI image, and finally the UI will load.
Now to put roms onto the card, pop it back out, put it in your computer, and copy rom files to the appropriate folders under ./roms (note that there are rom folders, like GBA, etc., under the root of the sdcard, but you need to go into the ./roms folder and put them in the gba folder there, ./roms/gba works, ./gba does not). We tested Sega Master System, Super Nintendo, Nintendo, Play Station (one), Mame/arcade, Game boy, Game boy color, Game boy advanced, and everything seemed to work as expected!
So far, it seems to work pretty good, though if there are a lot of titles in one folder, it seems a little slow to load them, something they will fix with 1.0.10, which came out after I made this for my son, but before the time of this writting. In any event, hopefully this little write up will help the next person who is struggling to understand what the TreeFrogUI instructions wanted you to do (or maybe it was just a "me" problem...).
Linux - keep it simple.
[1] https://handhelds.wiki/SF3000 [2] https://alaskalinuxuser3.ddns.net/tag/retro-game-stick.html [3] https://drive.google.com/drive/folders/1uG9Yba83T6P5scQ-qvUAePUpMcJQ5PWA [4] https://archive.org/details/sf-3000-stock-folder-copy-all-contents-of-this-folder-but-not-the-folder-itself- [5] https://github.com/tzubertowski/treefrog-ui/tree/main [6] https://github.com/Q-ta-s/q-ta-s.github.io/releases#release-sf3000_1 [7] https://github.com/tzubertowski/treefrog-ui/releases#release-v1.0.9
Mounting my HTX-212 in my 1968 Chevy Pickup
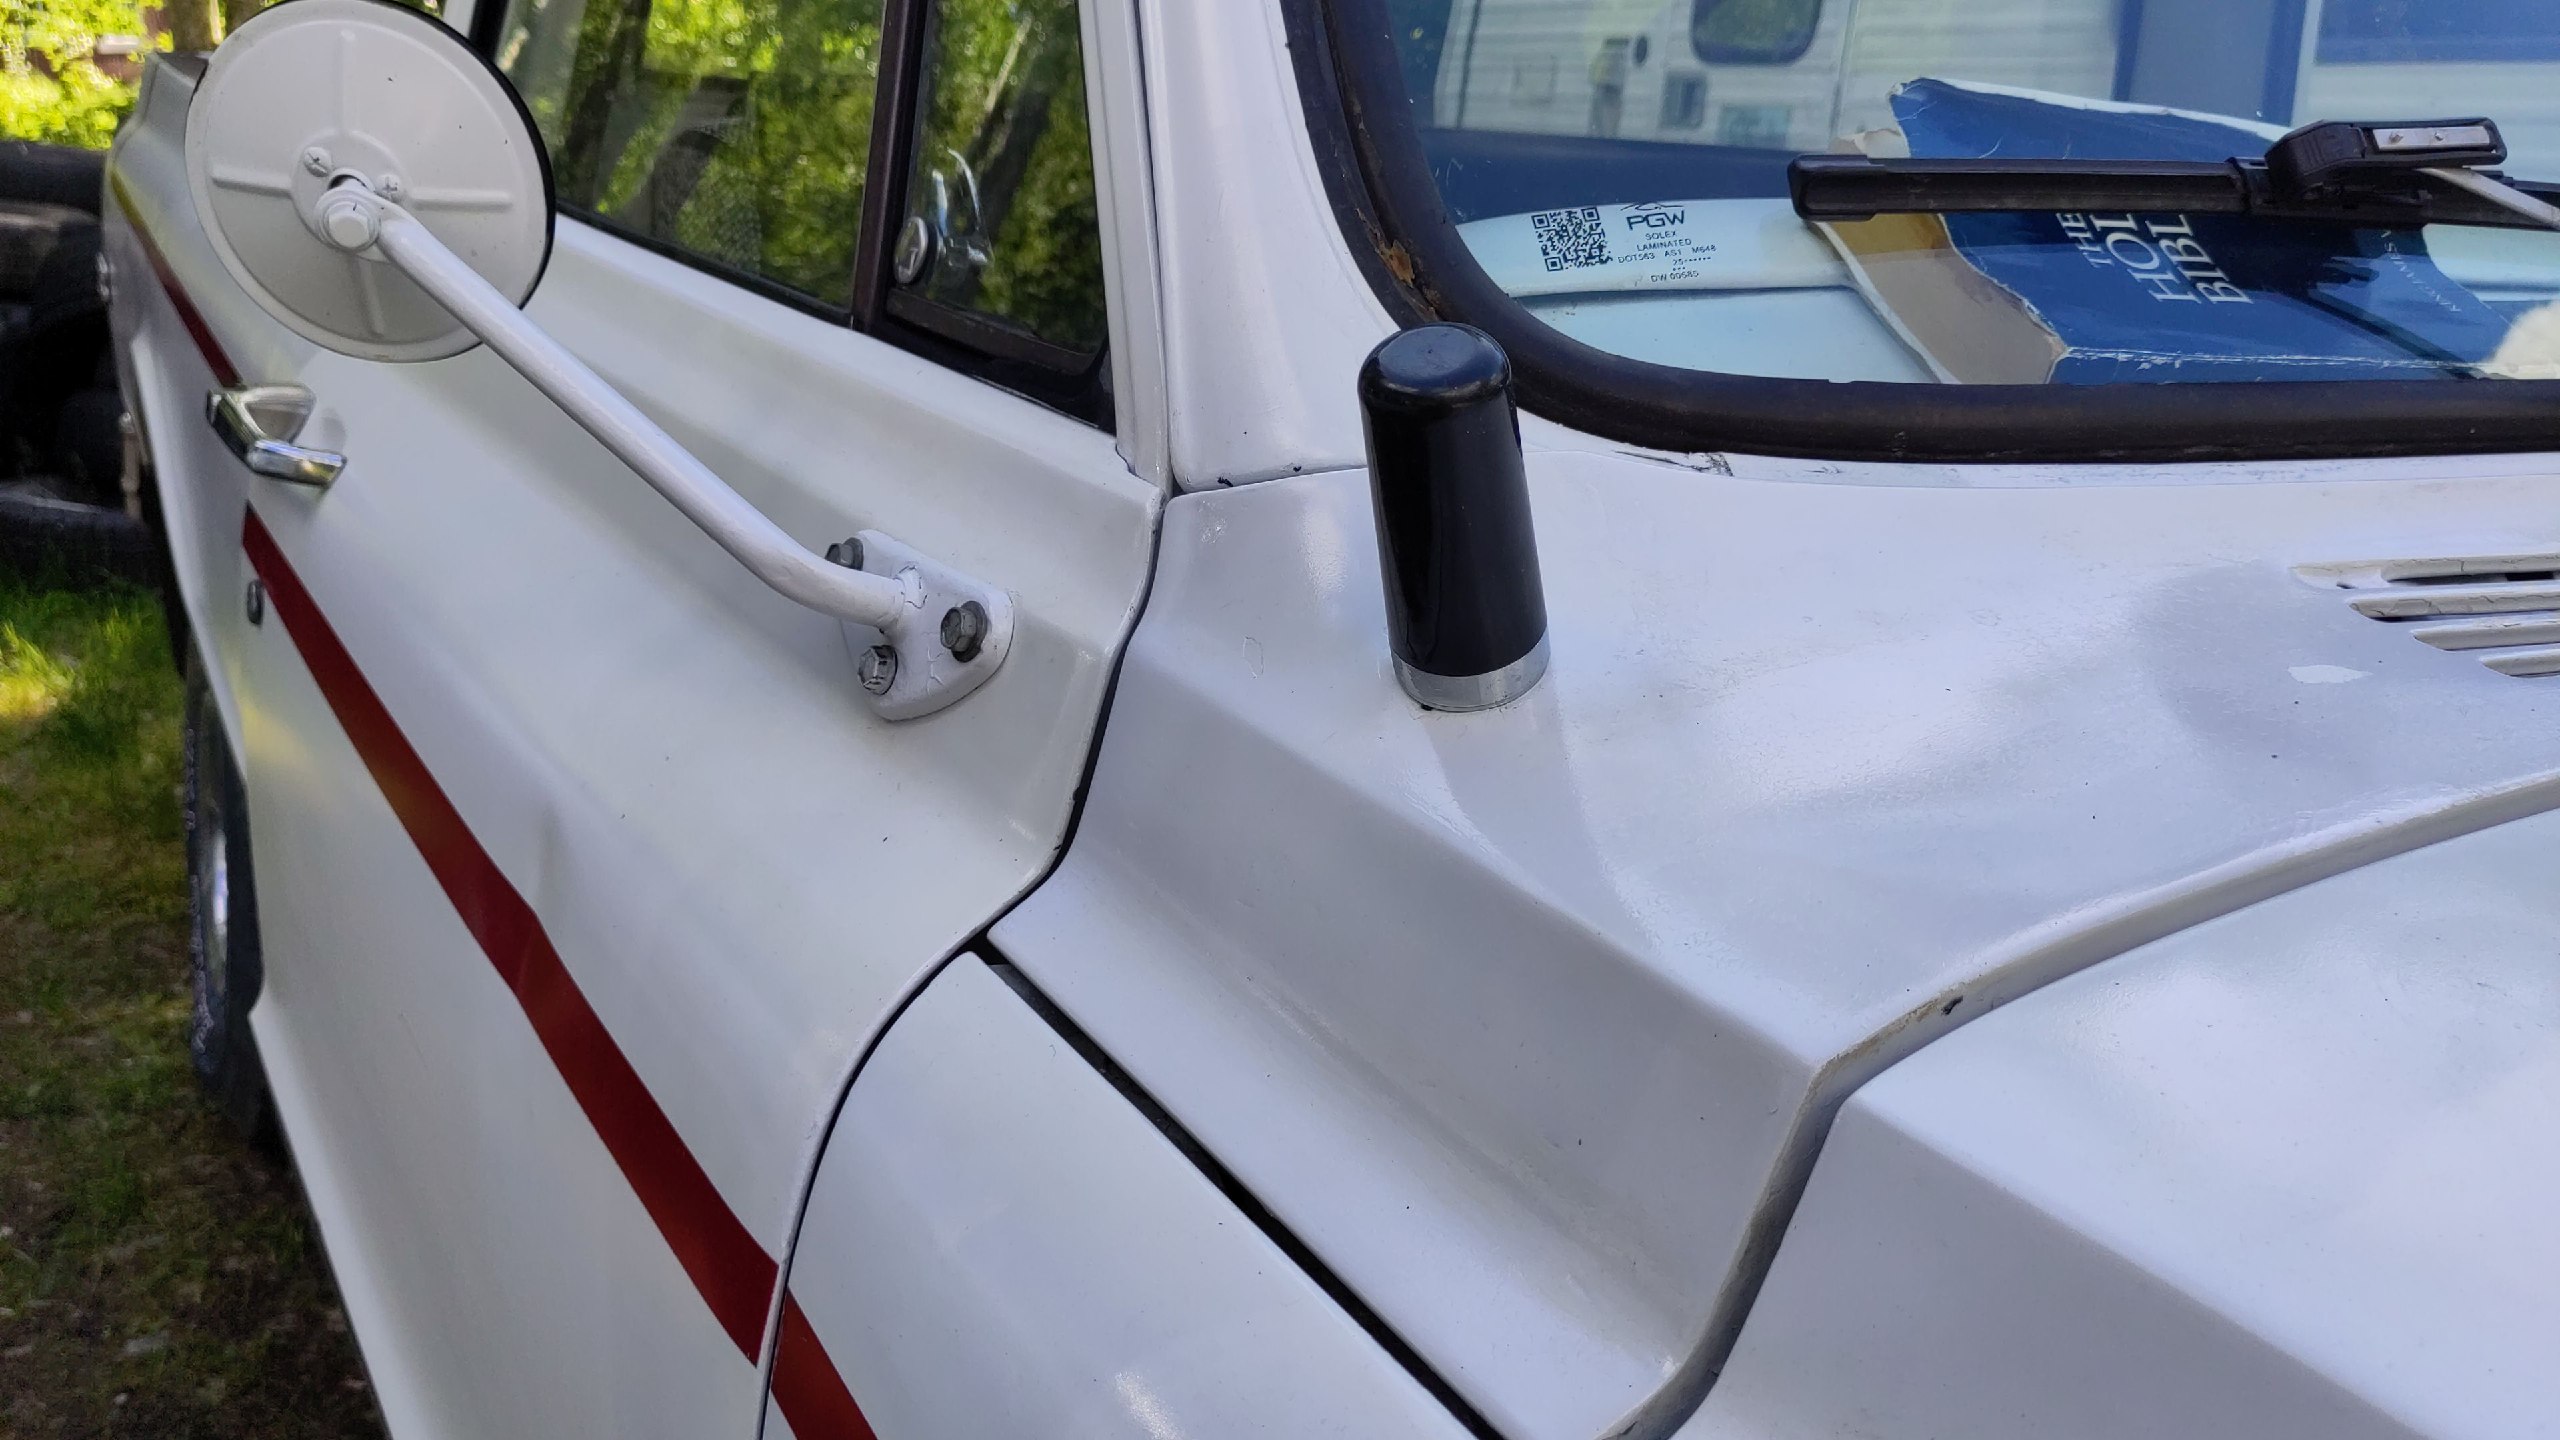
A while back I wrote an article about hooking up my HTX-212 to a signalink-usb and using it for APRS and Winlink from my 78 Chevy pickup [1]. I recently moved it to my newly restored 1968 Chevy pickup, and had an issue with it, so I thought I'd share my troubleshooting thought process and the ultimate fix/repair, even though it wasn't a really big issue, and I was able to fix it pretty quick.
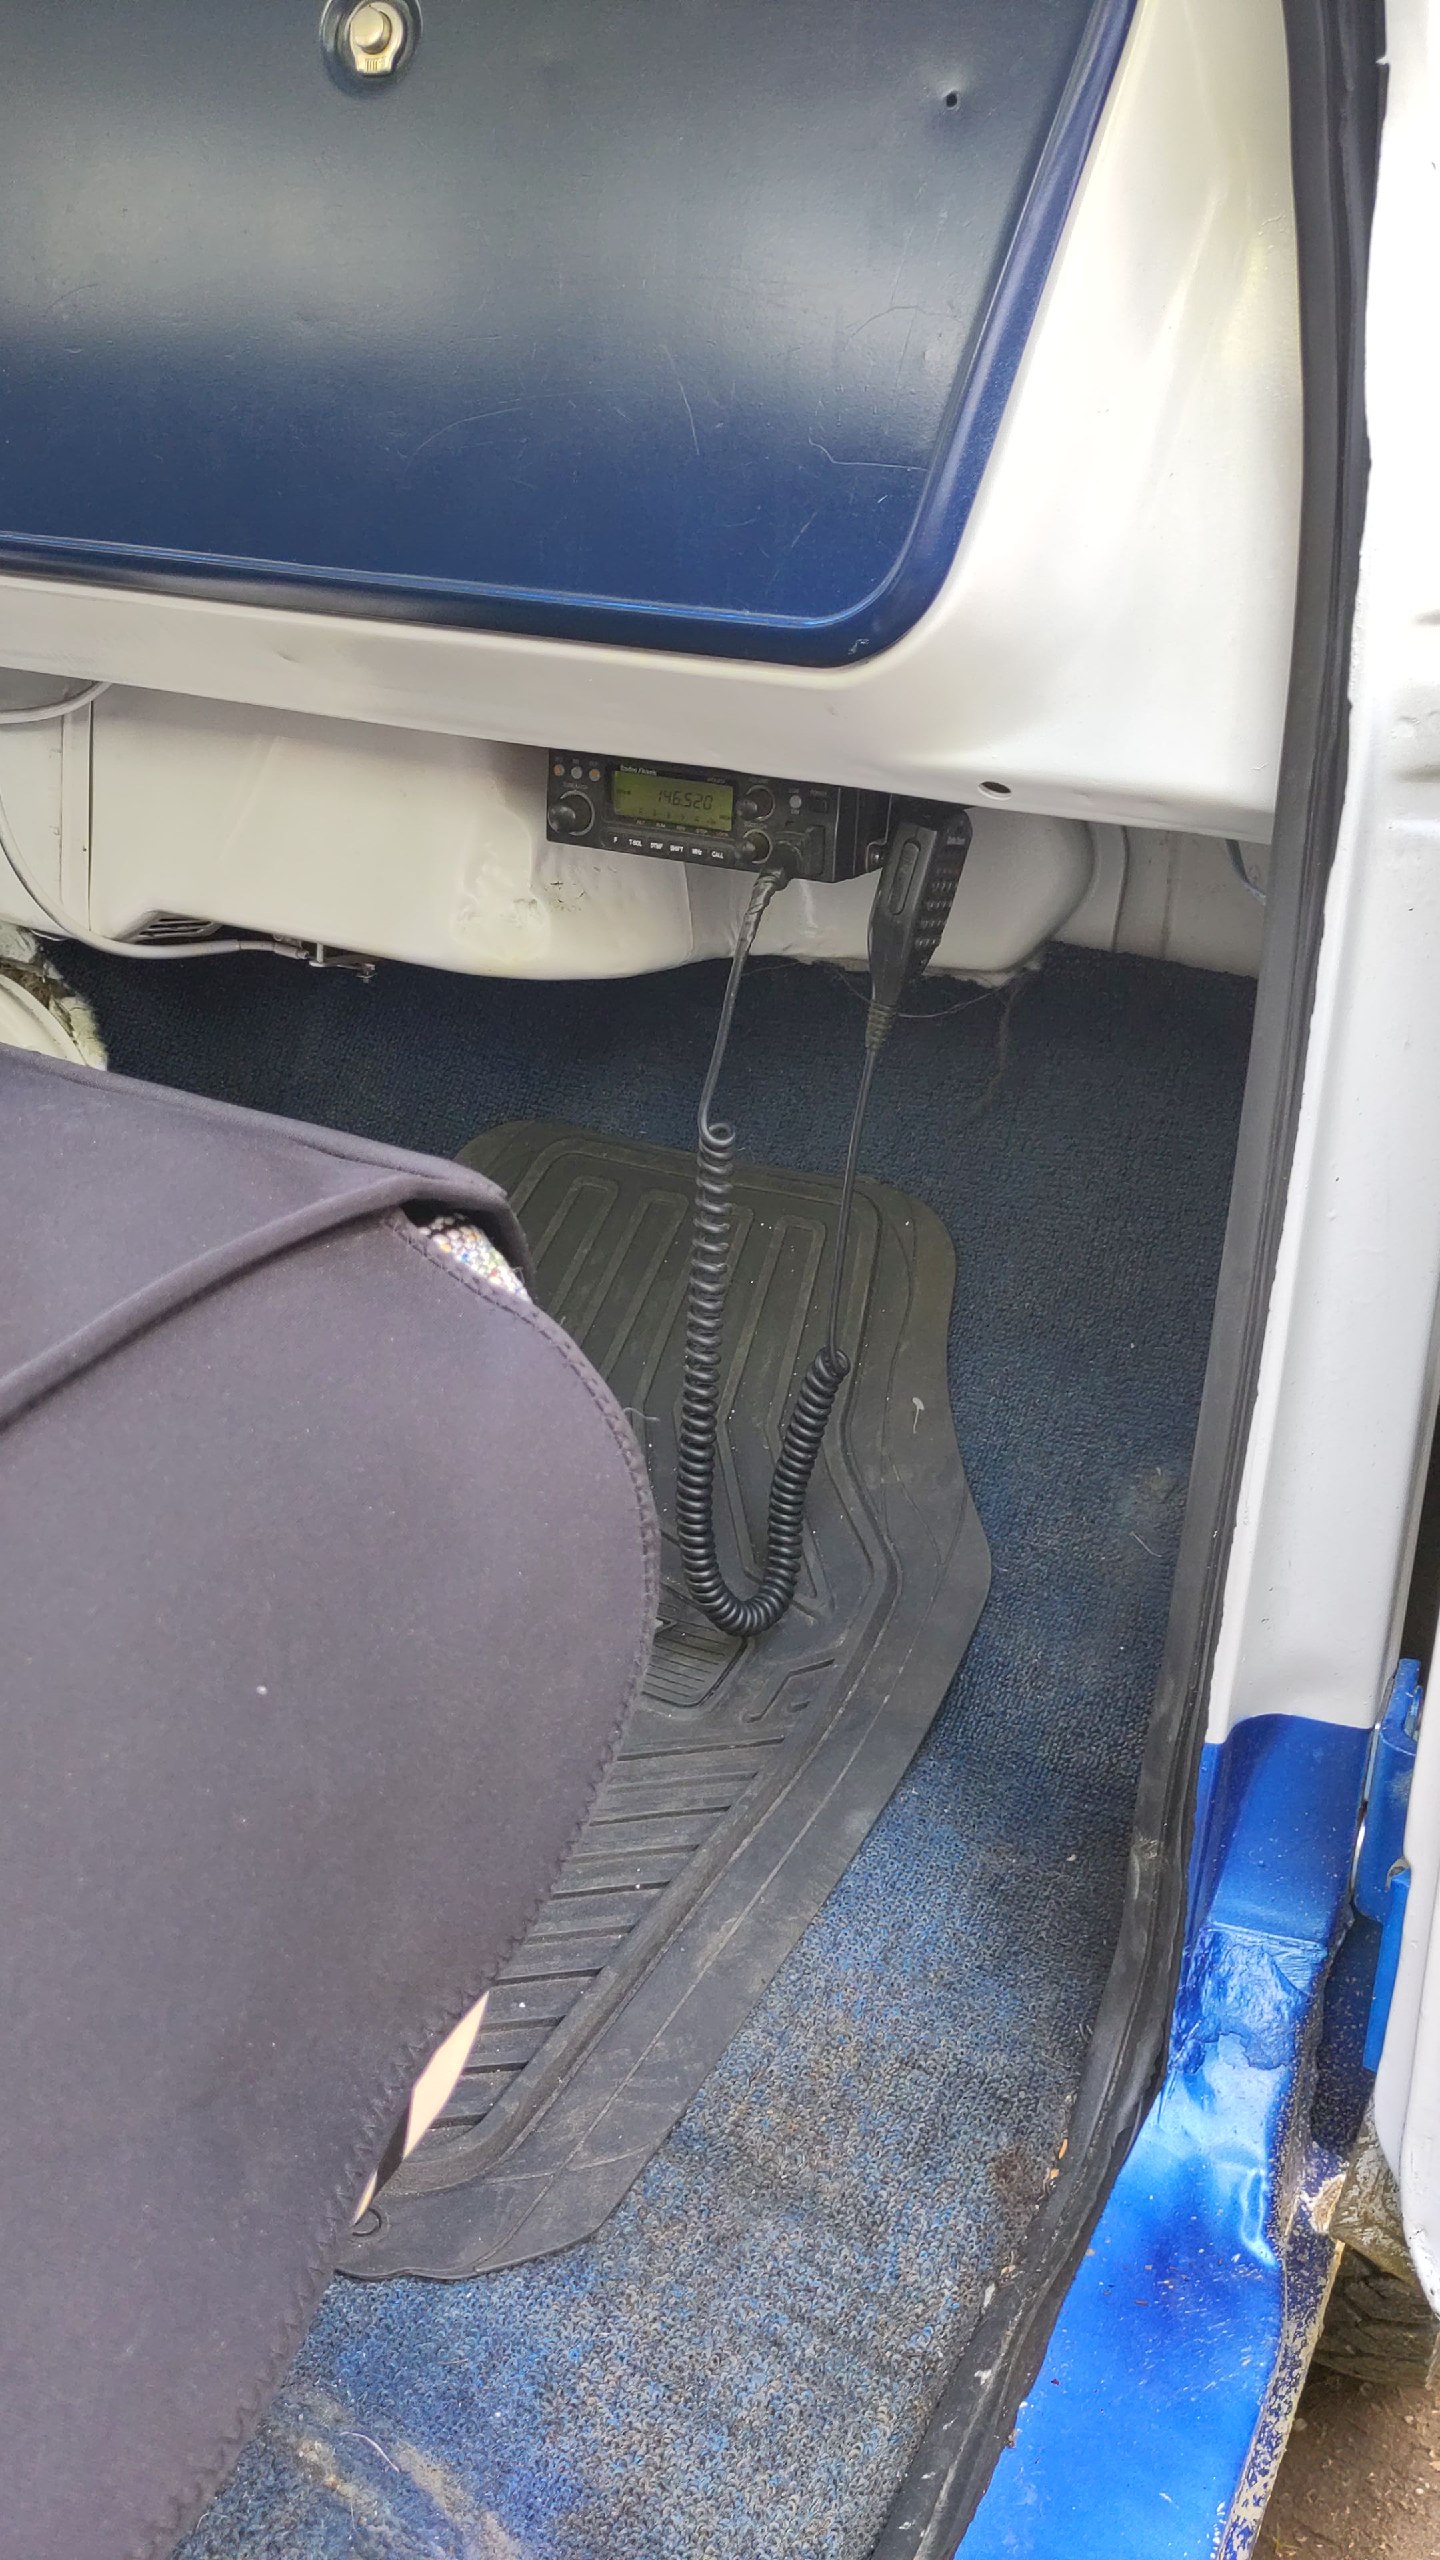
First, it was interesting to mount it. In the '78, I simply screwed the mounting bracket to the underside of the dash. However, in the '68, there is no underside to the dash, it is just an open hole. To solve this, I put a piece of 1/2" plywood that I specially cut to fit under the dash, spanning from the front of the underside of the dash all the way to the firewall under the glove box. This worked really well, was very stable, and it allowed me to have a flat work surface to mount the mounting bracket onto. This also has the added benefit of being under the glove box, which has holes in the side of it, allowing me to (in the future), mount my signalink and cables in the glove box. Currently, they just are sitting in there, out of the way. This keeps the truck looking sharp and clean, and allows me to pull them out and use them.
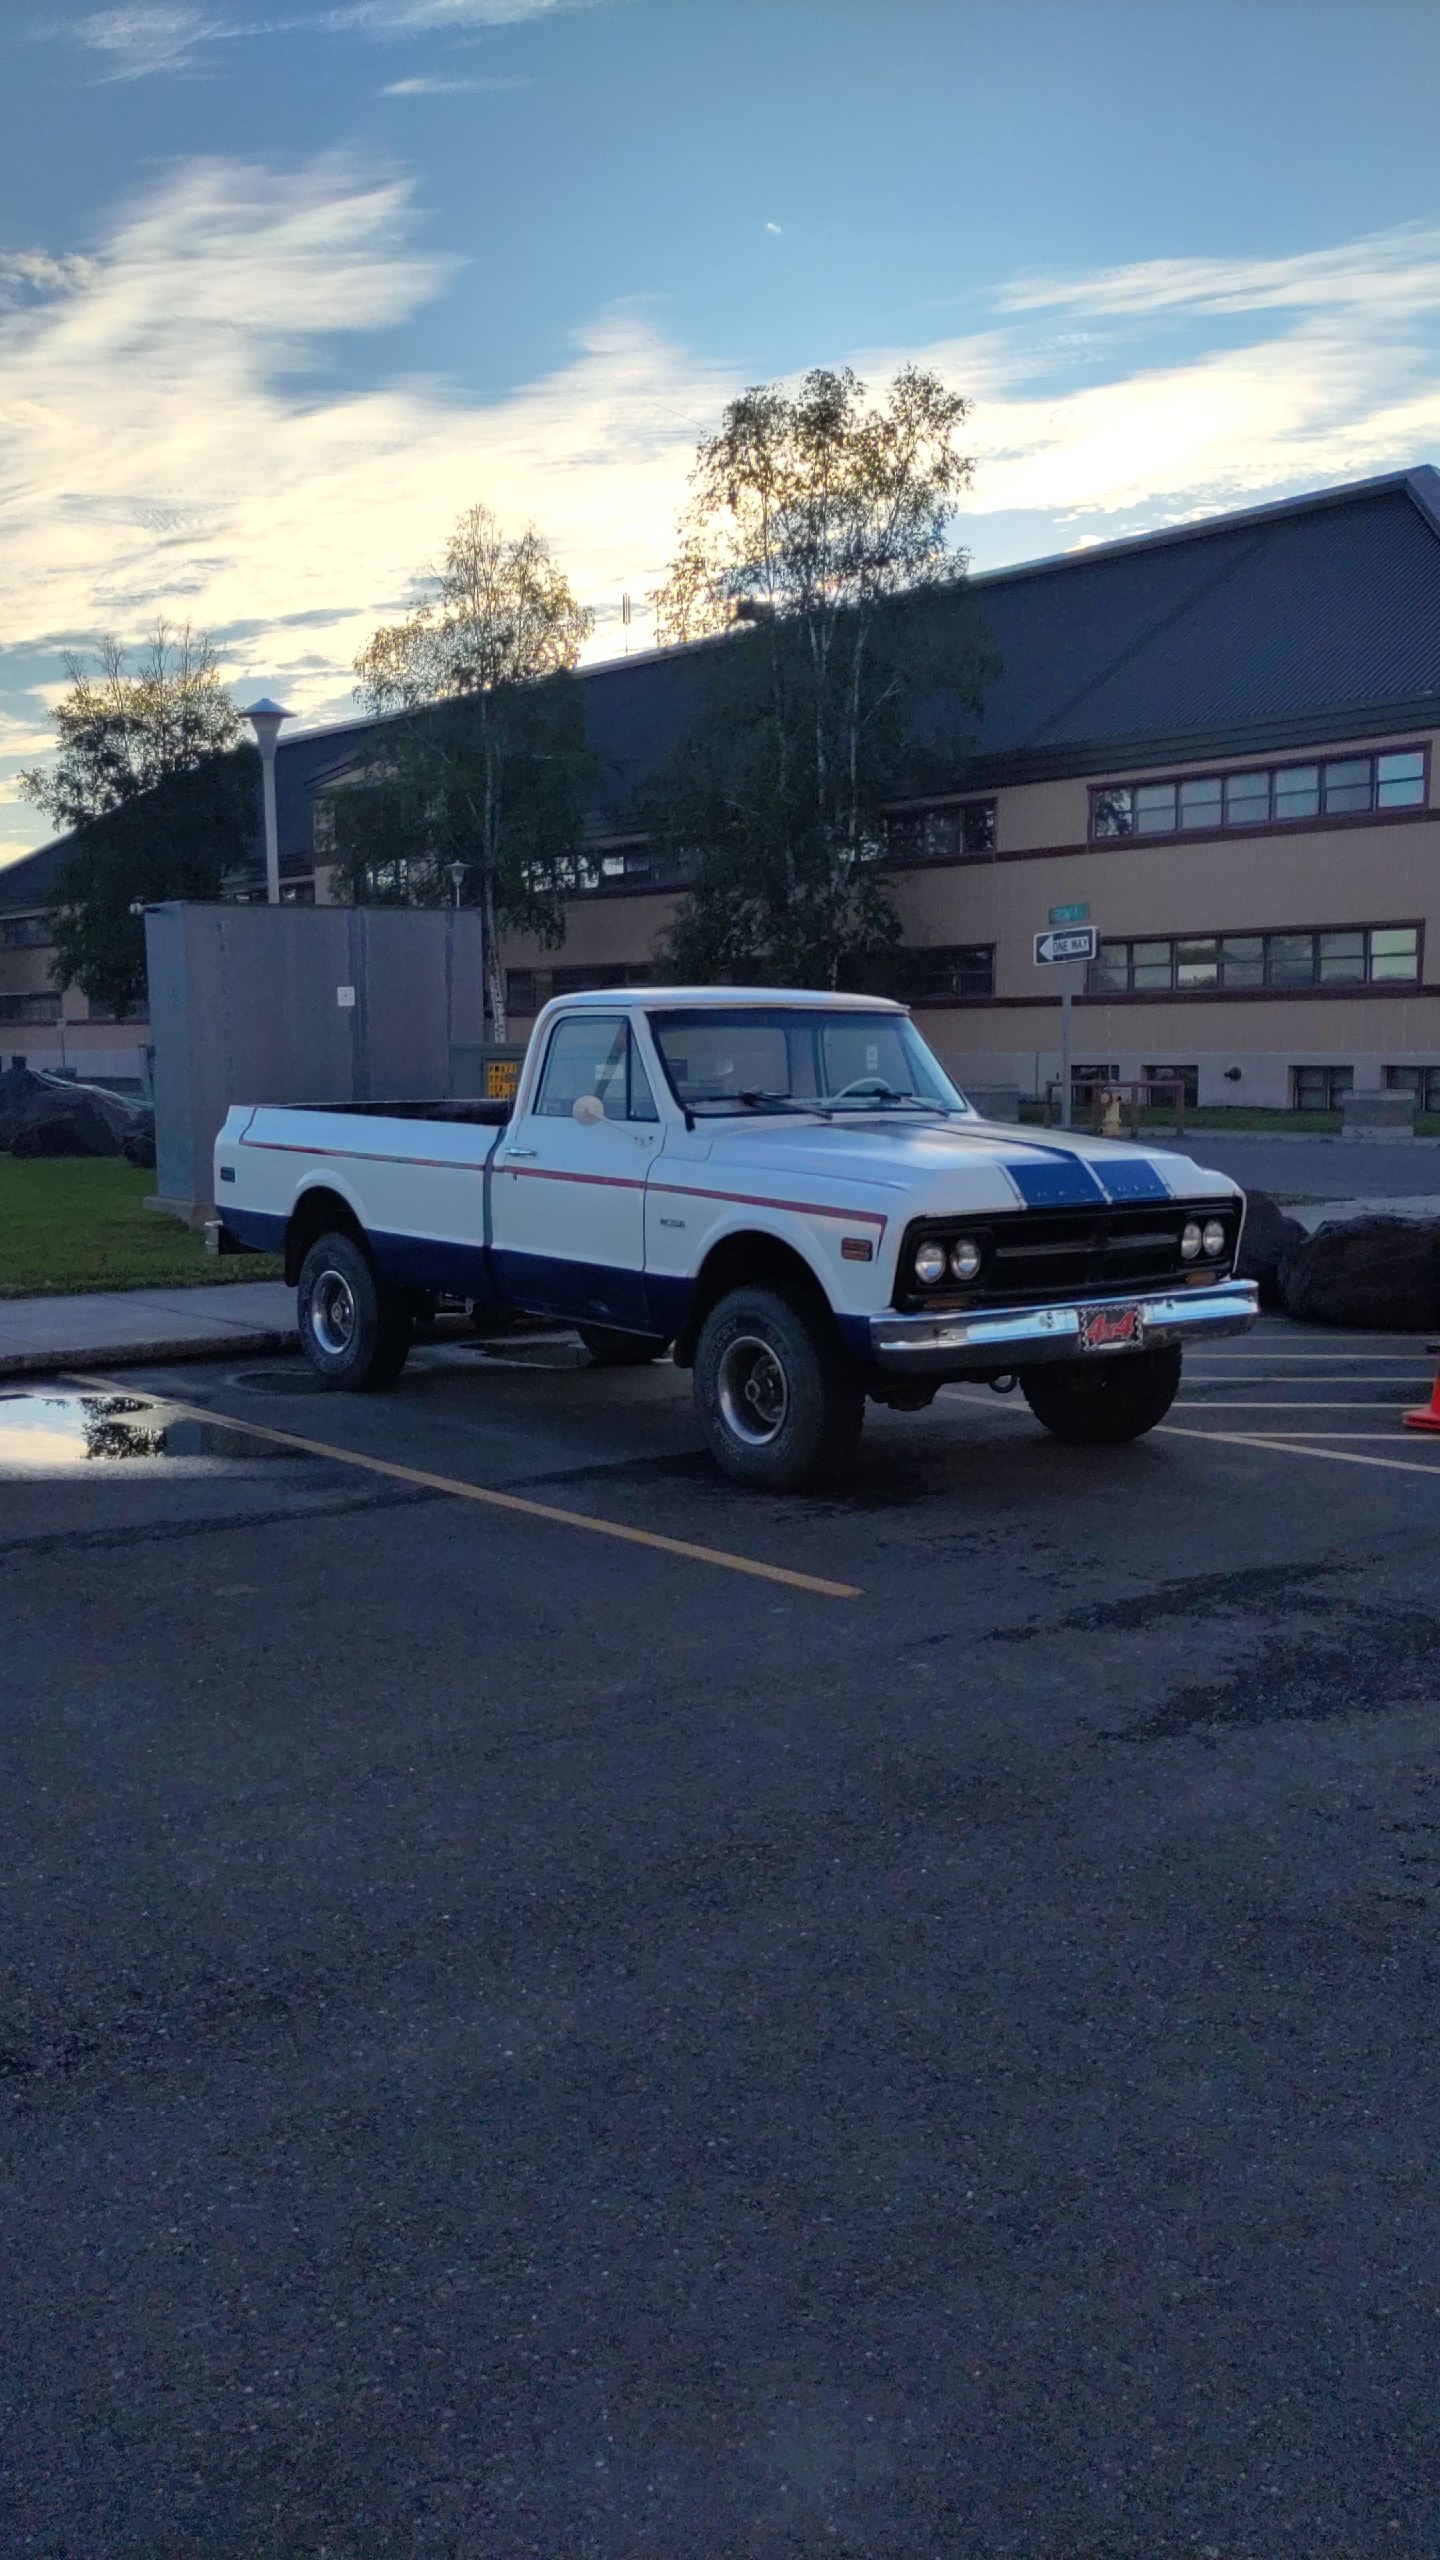
Then, I needed an antenna. I used the stock antenna hole on the '68, rather than making a new one. I put in an NMO mount, so I can change out the antenna for any NMO style connector, which is pretty standard for mobile antennas. Currently I just have a little WaurpHud dual band antenna [2] (Not an affiliate link.) that is really tiny. It works surprisingly well for it's size, having used it on the '78 after replacing the much larger, but worthless dual bander antenna I used to have on there. I doubt it works well out of town, but seems to get the job done cruising around locally.
After gettting the wiring for power all sorted, cleanly routed, with fuses and such, I was able to test out the HTX-212 with the hand mic, and it passed with flying colors through the local repeaters and to a handie that I had as well. After this, I hooked up my signalink-usb and Android phone with WOAD and APRSdroid, and tried that out. But it didn't work. Now it was time for troubleshooting, and I figured I'd share my thought process, good or bad, and how I was able to get it fixed. There are four main parts here, the Android phone/apps, the signalink-usb, the cables, and the HTX-212 transceiver, and I needed to break down where the failure was.
Symptopms: - The HTX-212 does not actually transmit, as there is no signal strength bar meter for transmission, like it usually does when transmitting. - The signalink-usb does click and light up the red transmit button. - The Android WoAD app doesn't show the typical audio strength meter for received sound.
The HTX-212 worked with the hand mic to TX/RX. So I know that the radio itself is good, has power, and works.
Rechecked the frequencies and HTX-212 settings. All were correct, but this rules out operator error.
I took the Android phone, with the app I was using (WoAD), and hooked it up to the other signalink-usb in my house, which is connected to the TS-700A, and was able to transmit and receive messages on Winlink. This tells me that all the app settings and phone settings are correct.
The remaining two items are the cable and the signalink-usb. Checking the cables was easiest, because if you read my previous article about the cable, I set up the signalink-usb to allow me to use a regular cat5/6 patch cable. So I unhooked my usual cable and hooked up another ethernet cable I had laying around, as well as a different 3.5mm aux audio cable, and viola! Transmission and reception started working!
My original cable is a home made cable I created with the 3.5mm audio jack built in on one end, tied into the ethernet cable. It made for a cleaner setup, but more complicated construction. I think I'm going to just go with a regular aux audio cable and a regular ethernet cable, which simplifies the matter greatly. In any event, it is nice to get it working and set up in the '68, and I look forward to using it more often when I'm mobile!
Linux - keep it simple.
[1] https://alaskalinuxuser3.ddns.net/connecting-my-signalink-usb-to-a-htx-212-2m-transceiver.html [2] https://www.amazon.com/Antenna-136-174MHz-400-470MHz-Connection-Amateur/dp/B0F1FFV4YC
Making EveryBible for Ubuntu Touch

A really big project (for me) that I've been working on recently is a new Ubuntu Touch app that I'm calling "EveryBible". An app that allows you to read numerous Bible translations with linked in cross references. When I first started using Ubuntu Touch after a many years hiatus, I was surprised to find that there were no apps to read your Bible on UT. During my work of updating older apps for Ubuntu Touch, I was able to update an older app which allowed you to read the Jubilee Bible, but that was it. There was, of course, the great Bible app that I have been working on for years called "The Book Wurm", in partnership with Mr. Wurm, but it isn't so much a Bible reading app as it is a KJV Bible and really great in depth study notes from the author. There really isn't any app on UT that just allows you to read the Bible in various languages or versions.
So, I decided to start making one! While it still has a long way to go, I'm very excited about the progress that has been made so far. Lots of times I've had to reach out to other developers for explainations and help on various aspects of this app, but, glory be to God, it really is coming along great!
The main idea behind the project is to use the Bible databases project, from Scrollmapper[2], to allow a QT interface app to download over 140 different Bible versions and let the user have one or two of them open at a time, be able to cross reference verses, change font size, and generally be able to read the Bible on their UT phone in a pleasant way.
So far, most of those objectives are met, leaving me to finish a few more features and start cleaning it up to look nice. I've had a lot of struggles with it, and learned quite a bit, and I feel like it is a much needed, and eternally rewarding project. If you want to check it out, feel free to drop by my gitlab for the commits! [1]
Linux - keep it simple.
[1] https://gitlab.com/alaskalinuxuser/everybible [2] https://github.com/scrollmapper/bible_databases
Updating older apps
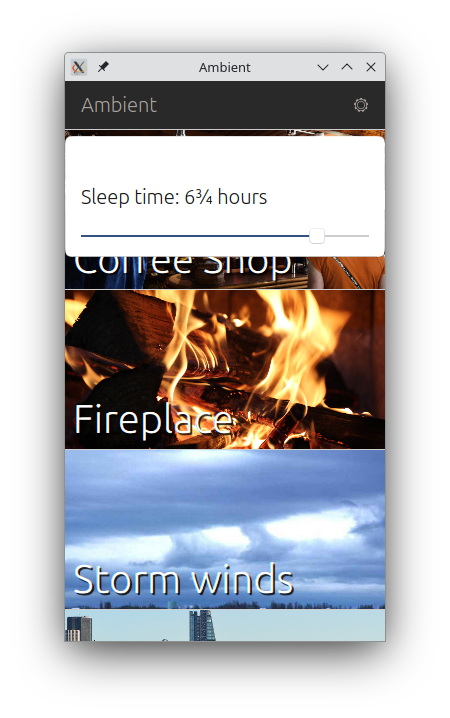
A friend of mine on Ubuntu Touch reached out to me the other day about one of the older apps that I maintain. It's called Ambient, which is a simple app that plays background noise for a set period of time. Apparently, my friend uses it every night to help them sleep. One of the limitations of the app was that it had a max time of 3 hours, which, presumably, a person using this for a sleep aid would want to sleep longer than. They requested I update the app to longer timers.
Figuring this to be a one line change, and not an unreasonable request, by any means, I looked at the code:
ListItem {
height: timerSlider.height + timerSliderLabel.height + units.gu(1) + 50
Column {
id: timerSetter
spacing: units.gu(1)
width: parent.width - units.gu(2)
anchors.horizontalCenter: parent.horizontalCenter
anchors.bottom: parent.bottom
Label {
id: timerSliderLabel
text: "Sleep time: " + timerLabel.formatTime(Math.round(timerSlider.value) * 15);
fontSize: "large"
width: parent.width
}
Slider {
id: timerSlider
minimumValue: 1
maximumValue: 12
value: settings.contents.timer / 15
function formatValue(v) { return timerLabel.formatTime(Math.round(v) * 15); }
width: parent.width
onValueChanged: {
settings.contents = {timer: Math.round(value) * 15};
}
}
}
}
Looks like it uses a slider that works on a min/max value of 1 to 12, and multiplies that by 15, which means the max time is 3 hours. A quick adjustment of maximumValue to 32 got me right where I needed to be at 8 hours total. Seemed to work well, and other than updating a few older Ubuntu.components to the new Lomiri.components, the app was done updating in no time. You can always check out the commits[1] if you'd like, and I put the newest version (1.6) on the openstore.
Linux - keep it simple.
[1] https://gitlab.com/alaskalinuxuser/ambient-ubuntu-phone/-/commits/master?ref_type=HEADS
NesJs for Ubuntu Touch
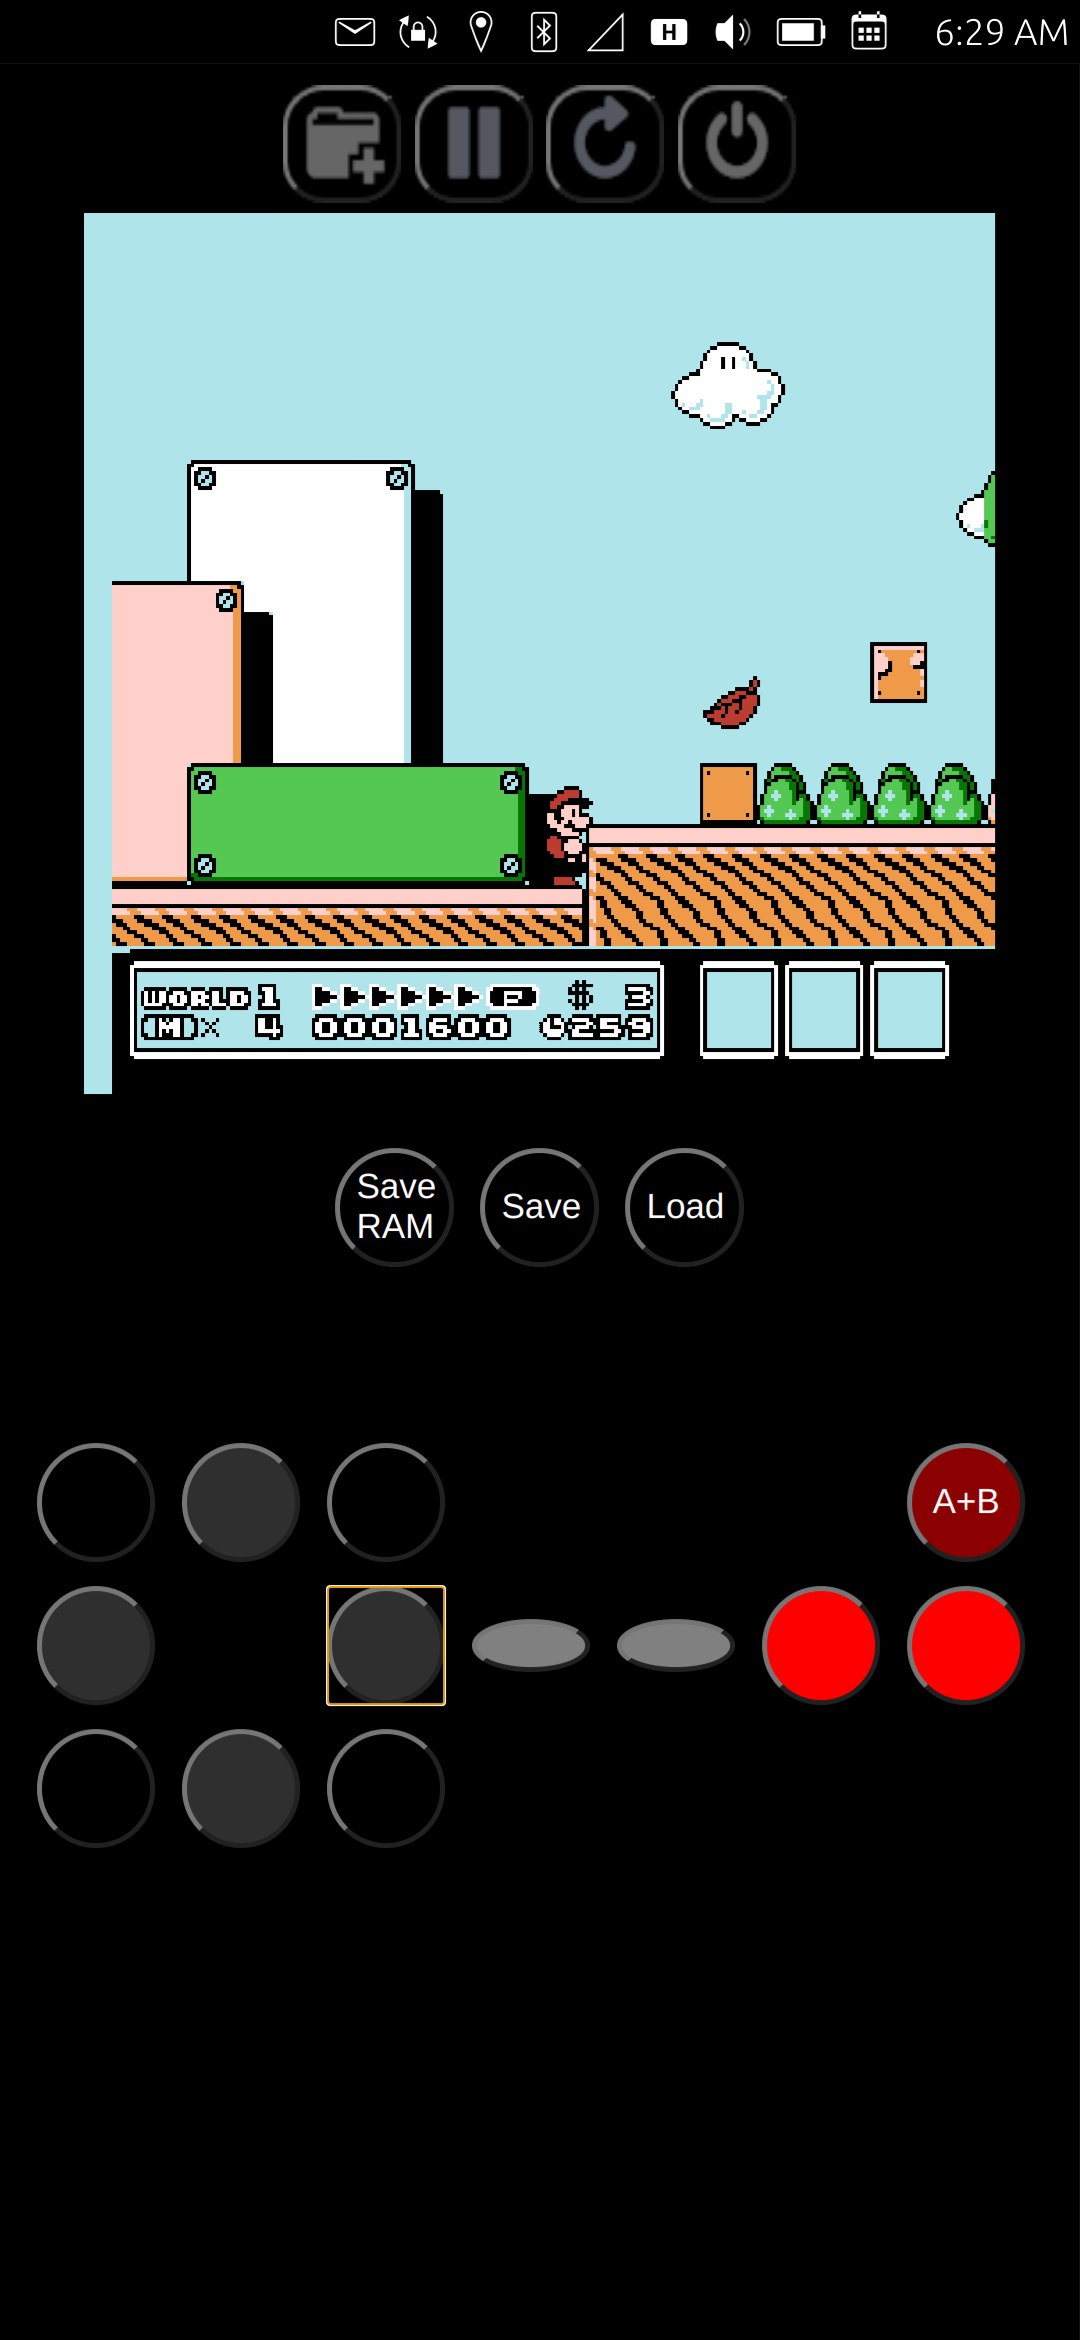
After several weeks of toying with it, I have finally completed my click of NesJs for Ubuntu Touch. Now, when I say that in the geek community, they typically think by NesJs, that I mean the really big NesJs library [3] that was written in typescript and is used in dozens of projects, but I actually used a lesser known project by the same name, written in javascript by Angelo-wf [1].
I have a much larger, and, in my opinion, important project that I am working on, called "EveryBible". However, I am stuck on part of it, and needed to learn a little bit more about javascript, because that is part and parcel of using QML, as all the syntax are the same, and any QML functions are just javascript. So I decided to do some learning on the subject by working through/on a NES emulator for Ubuntu Touch, which was written in javascript. Why a NES emulator? Well, because it speaks to my childhood, having grown up with the good old Nintendo Entertainment System, it has a fond place in my heart.
To be really clear, Angelo-wf had already completely finished writing the NesJs emulator, and all credit for that goes to them. What I did, though, was edit small amounts of the code to facilitate it's use in Ubuntu Touch. For instance, one of the things I edited was the mirrored over-scan of the original emulator. Angelo-wf's work was very thorough... perhaps too much so, emulating the real output of the NES, which included a part of the display which was not shown on regular TV screens, an over-scan section which mirrored the opposite side of the display. This was not useful, though, for the emulator, because the canvas on which it is displayed does not hide the over-scanned portion. Thus I removed it with a simple hack:
Original: this.pixelOutput = new Uint16Array(256 * 240);
Edit:
//this.pixelOutput = new Uint16Array(256 * 240);
// Alaskalinuxuser - change from original, cut off the 8 lines on the bottom, to get rid of the bottom overscan.
// read more about it here: https://www.nesdev.org/wiki/Myths#NTSC_picture_height
this.pixelOutput = new Uint16Array(256 * 232);
Essentially, I just changed the pixel output array to have 8 less lines, effectively cutting off the bottom eight lines of the screen where the over-scan was. I made several edits for the battery save function as well (well, technically the problem was in the loadRom function), to enable battery RAM saving and created buttons for loading and saving the game state.
Of course, I also made the on screen game pad controller, which went through several iterations before I finally settled on one. It works well enough for most games, like Tetris, Final Fantasy, 1943, or even Super Mario Bros. titles. However, it is a bit clunky for intense button mashing games like SuperC. Principally because one has to "let go" of a d-pad button to push another, rather than just slide over another button. Originally I went a different direction, where once you touched the screen, you could slide your fingers across any button, and they would just work, however it dramatically slowed down the emulator, so I abandoned that approach.
I was able to test the emulator on my phone using a Bluetooth keyboard, which worked great! Unfortunately, I don't have any Bluetooth game controllers, so I couldn't test that function, and when I posted it for beta testing, no one chimed in, so I do not know if they work or not.
Either way, it was a fun, shorter project, where I learned quite a few things, and got a bit of help from the Ubuntu Touch community for things I did not understand. I can only praise God that the final product works and is quite playable. You can always check out the code on my repo [2], which is licensed under an MIT license, as the original NesJs project was also licensed that way as well, most likely so it could be used as a library in another project.
Linux - keep it simple.
[1] https://github.com/angelo-wf/NesJs [2] https://gitlab.com/alaskalinuxuser/ut_nesjs [3] https://nesjs.netlify.app/